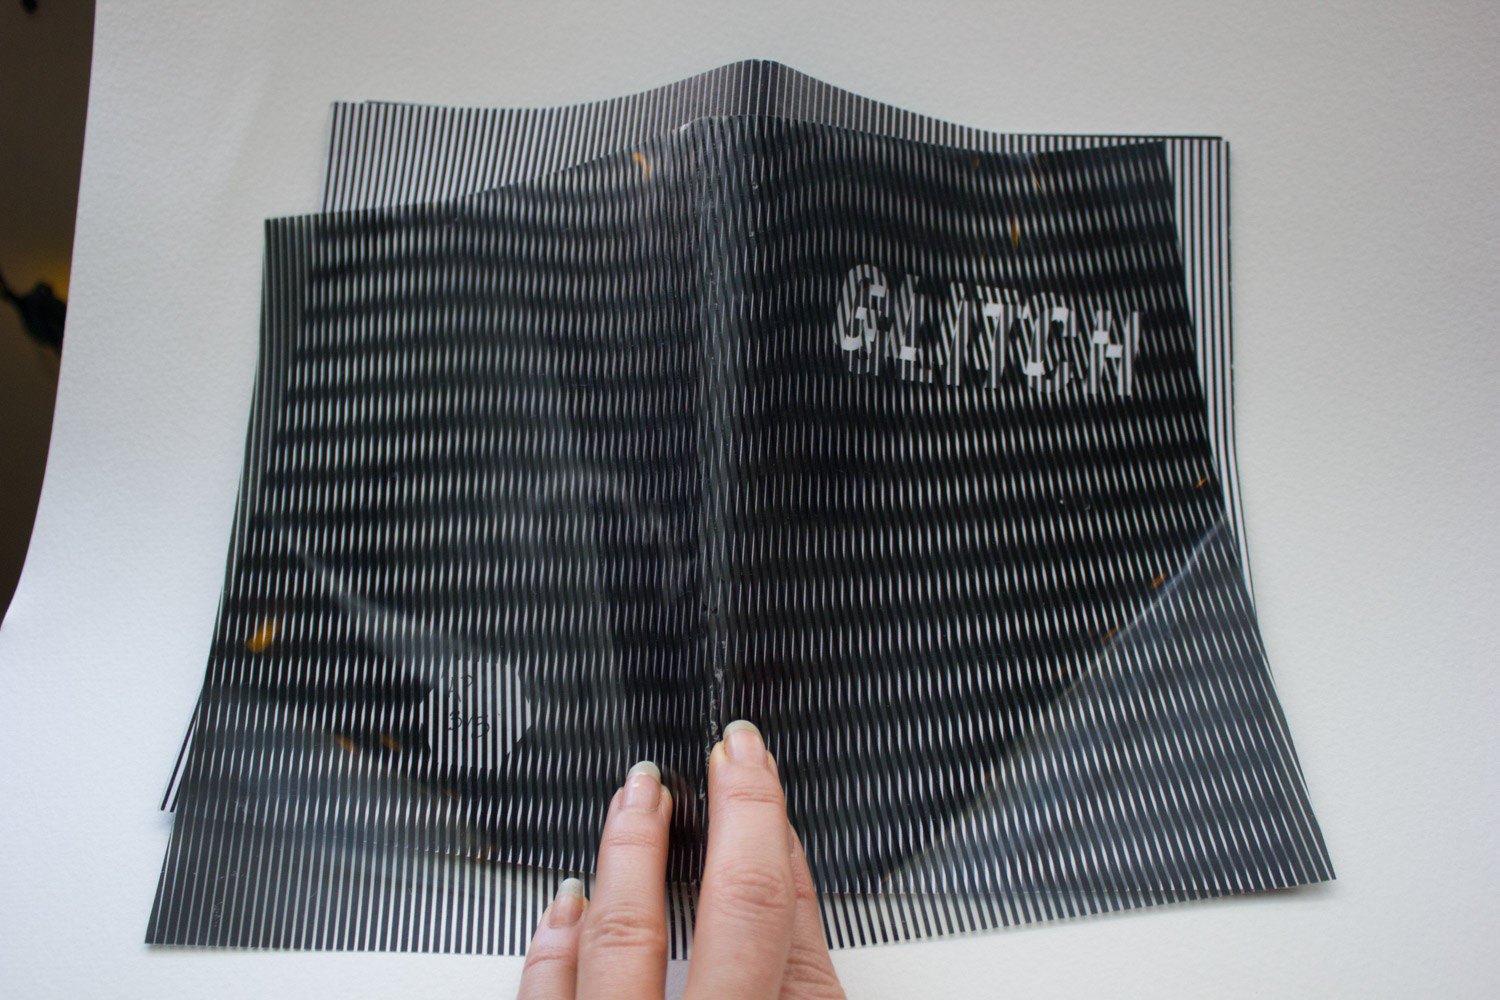
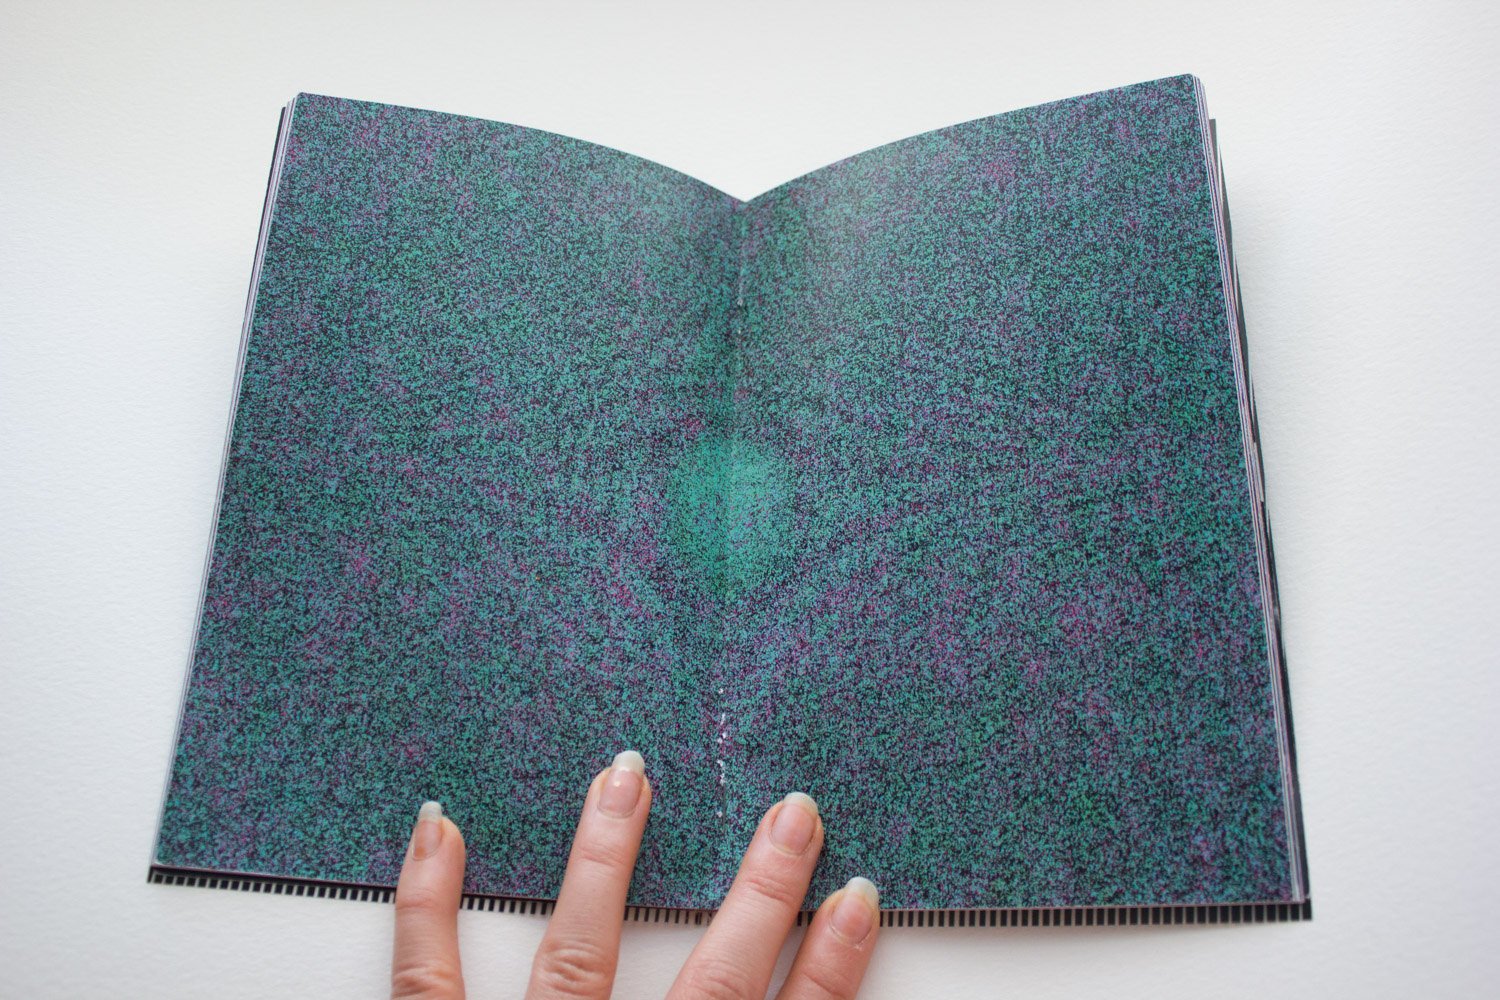
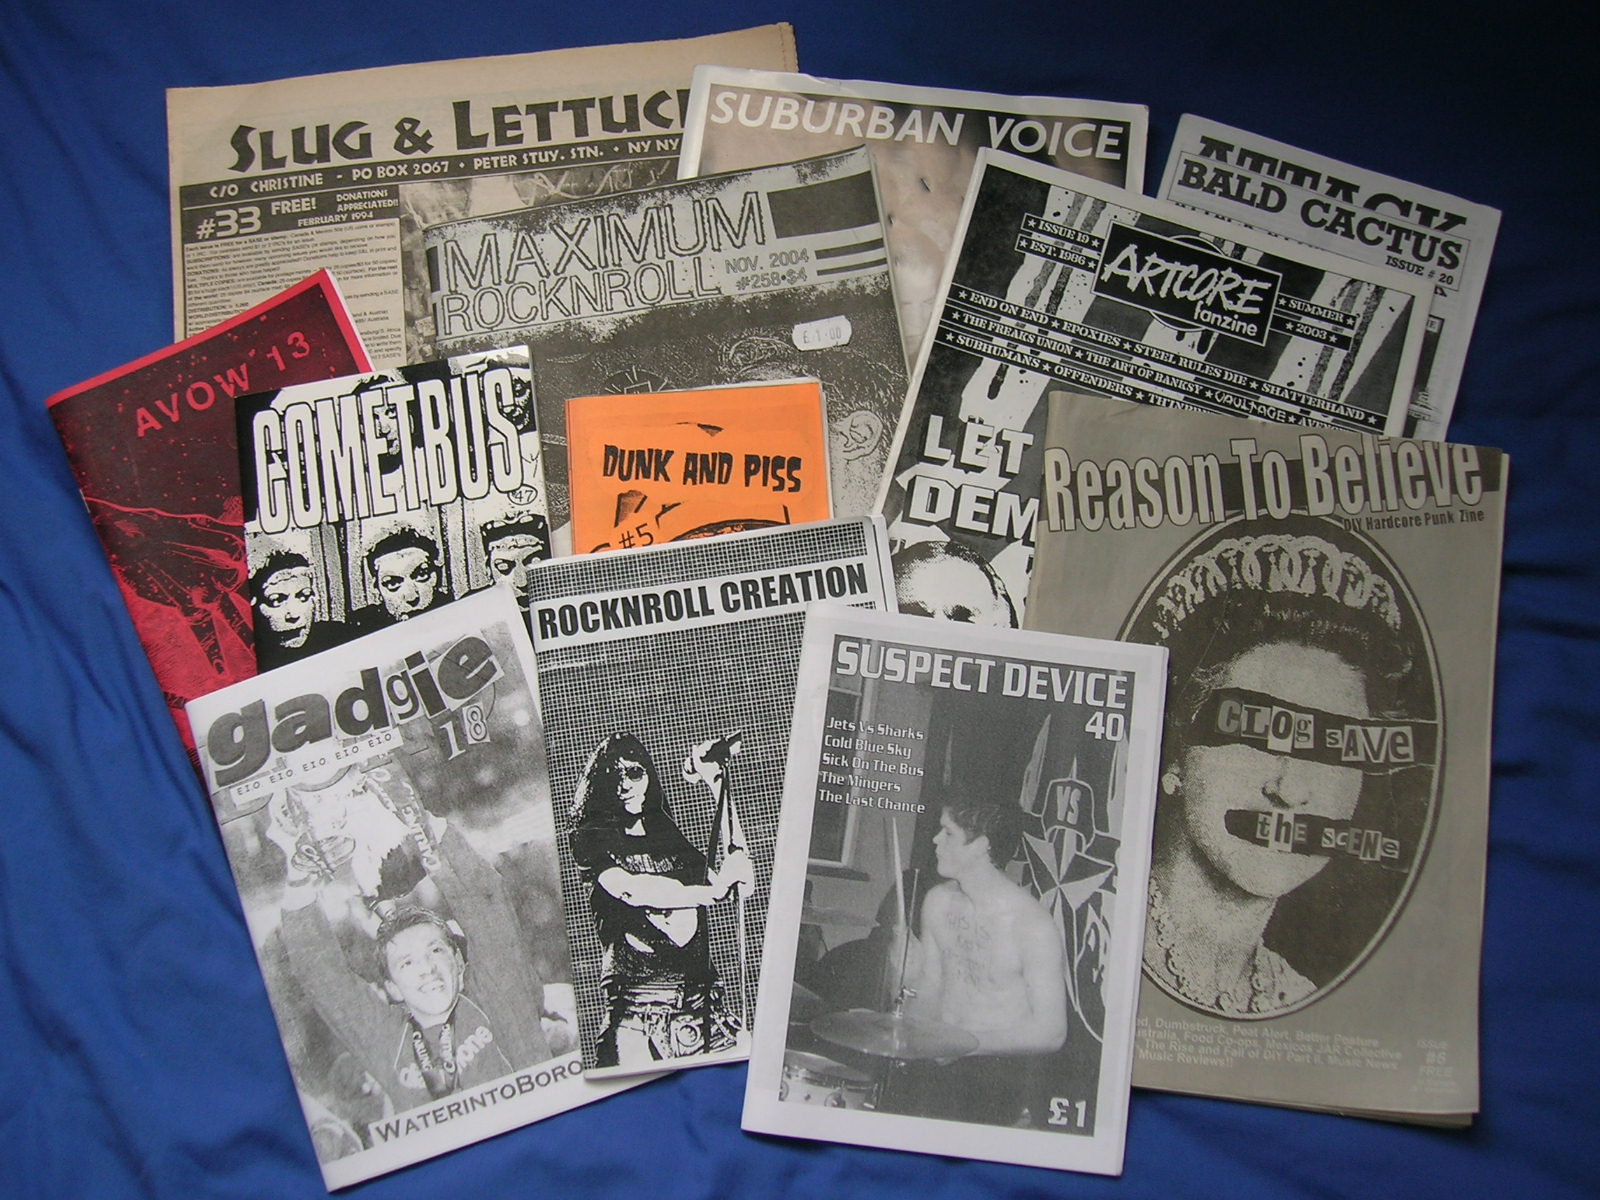
According to Wikipedia a “zine”is “a small-circulation self-published work of original or appropriated texts and images, usually reproduced via photocopier. Zines are either the product of a single person, or of a very small group and are popularly photocopied into physical prints for circulation”
Zines were made popular in the punk rock scene of the 1970’s. Sometimes called “fanzine” when based on popular artist or music genre. But you can make a zine about anything you are interested in (e.g. DIY, comics, cooking, etc.).
For the final project we will be creating a zine highlighting things and/or people you are grateful for. I’m calling it a “Gratizine.” (Get it? “Gratitude” + “zine” 😎).
At times it seems difficult to find things to be grateful for. Doesn’t it? Focusing on being thankful is scientifically proven to improve our physical and emotional well-being. It improves sleep, relationships with others and much more. Gratitude can literally help heal your body and view the world in a better light!
Don’t get me wrong, this is not a scrapbook. It is a highly designed, curated and (hopefully) immersive experience for the reader (i.e. it should make me want to turn the page). What story will you tell? How will you weave images and type (perhaps statistics) to create a compelling experience from page to page? Would anyone buy your zine? Would they take a copy for free?
Specs & Requirements
Zines come in many shapes and sizes. There are standards. However, because of the compressed timeline our “gratizine” dimensions will be 4.8in wide x 7.64in high, 300dpi, CMYK print. Eight pages (minimum). For InDesign remember to add a .125in bleed all around. In Photoshop be sure to include the bleed as part of the canvas size (e.g., add .125in to original dimensions). Works out to 9.85in x 7.89in for a two page spread layout in Photoshop.
This size is practical for a number of reasons. It allows printing without tiling and is large enough to get fancy with type and layout. Similar to the CD project booklet, the zine will be saddle-stitched (e.g. two to three staples) but instead of “short edge” binding set “Printer Settings” to “Long-edge Binding.”
Cover Content
- Title. (Will the title be illustrated, hand-drawn, type-treated? Up to you!)
- Date of publication
- Issue Number
- Optional: One or two highlights of what viewer can find inside, cost, volume number, SKU, QR, etc.
Inner Content
- Short introduction to the zine (who you are and what we can expect. Think “Editor’s Note”).
- Four people/things (minimum) you are grateful for and/or bring joy/happiness to your life. Each item should include the following:
- 1+ Photo(s)
- name/title of item
- relationship to you
- 1-2 Paragraphs maximum (don’t go crazy) (who, what, most importantly why are you grateful for them/it?)
- Alternative: You may choose to focus on one thing, by breaking it down into at least four different components.
Other Optional Content
- Table of Contents
- Page Numbers
- Credits
- Stats on what makes each person/thing awesome (good opportunity for edgy design and info-graphics) Examples: age, interesting fact, years known, etc. (be creative)
Deadlines
- December 3: Digital checkpoint
- December 5: Digital checkpoint
- December 10: Final submission (class time: 1–3 PM)
Design Tips
Developing Concept & Style
As in past projects, the concept is key. In this case, drawing connections and themes from items highlighted. What ties it all together? How should viewers experience what you’ve created? Some helpful questions may be “why am I thankful for this?”, or “why has this been good in my life?”, etc. Answering questions such as this may lead to what binds them all together. Who knows?
A good concept will help you come up with a title as well as the aesthetic style/mood/atmosphere.
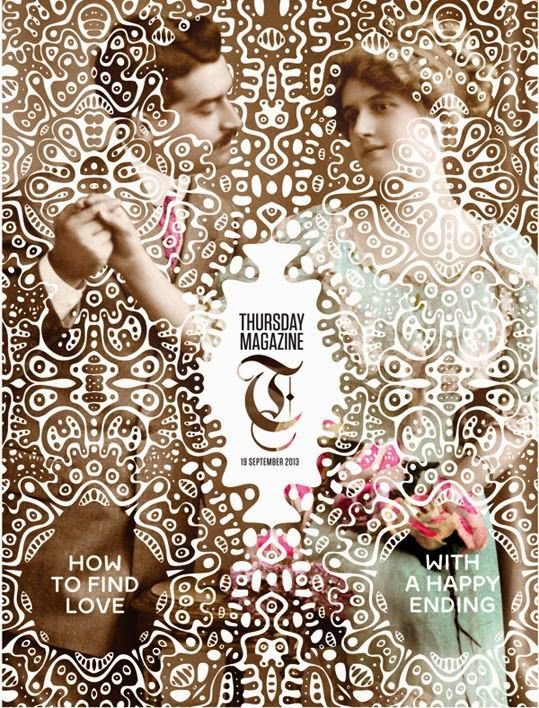
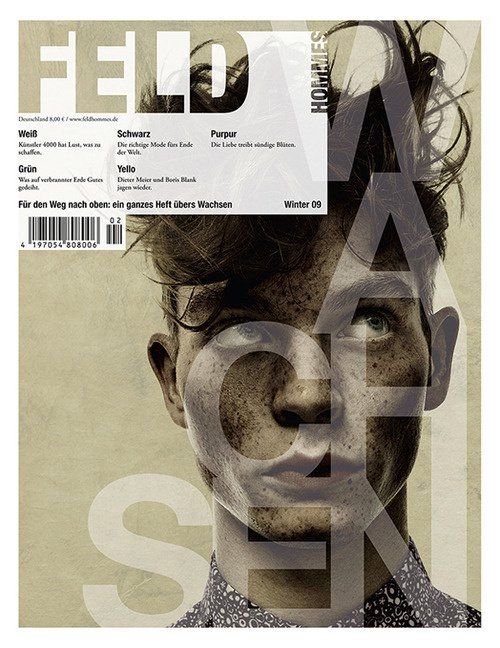
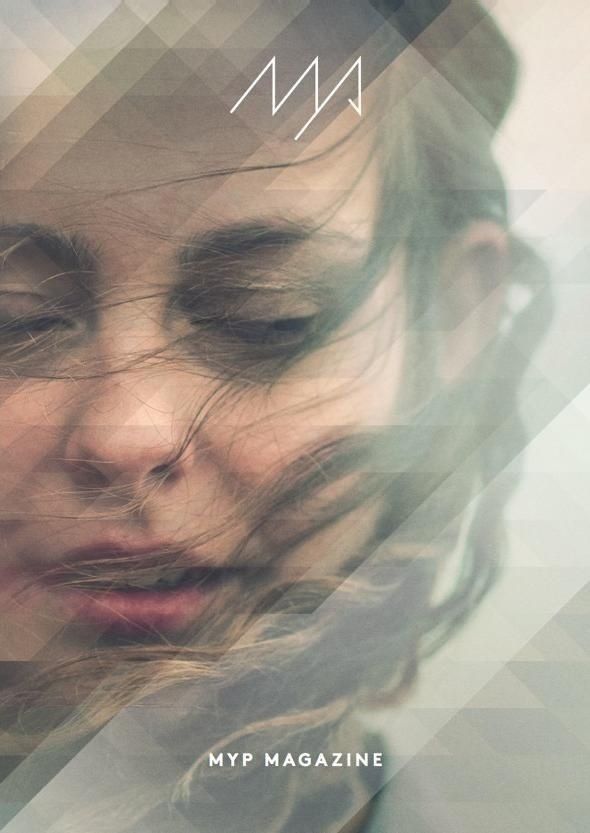
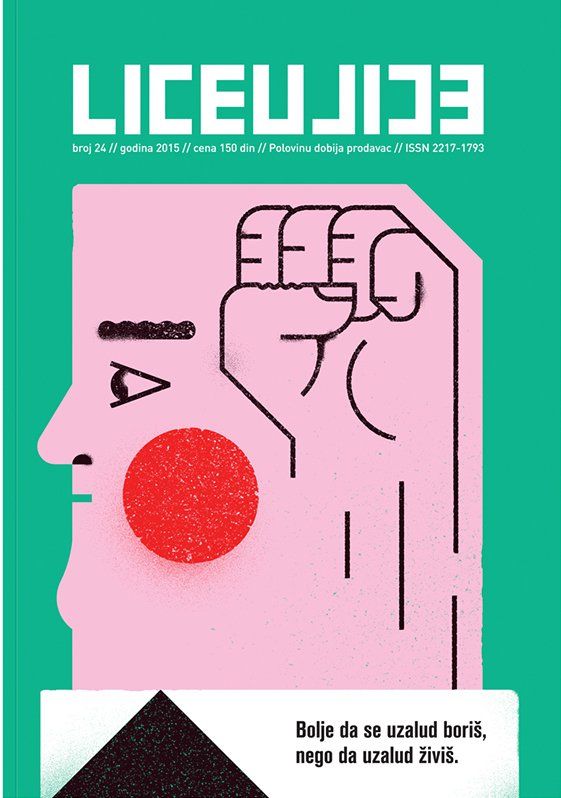
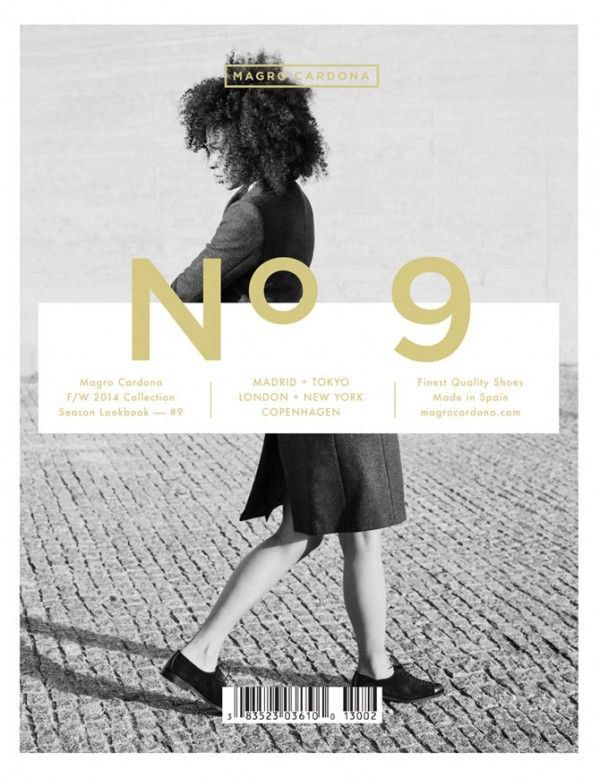
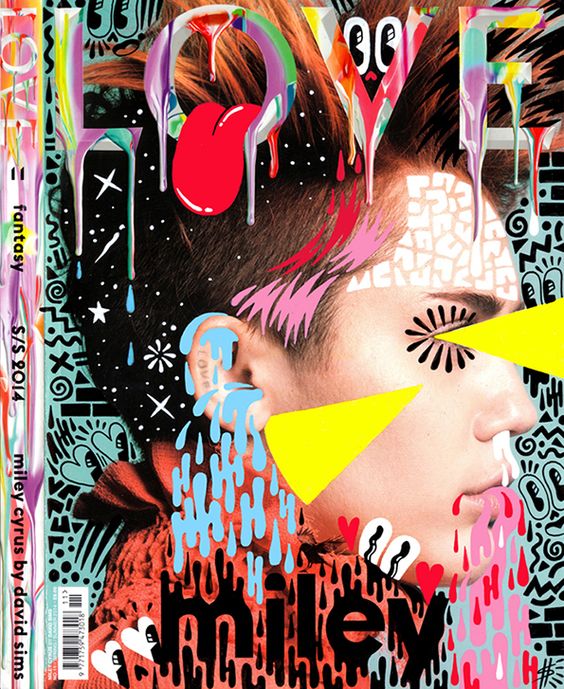
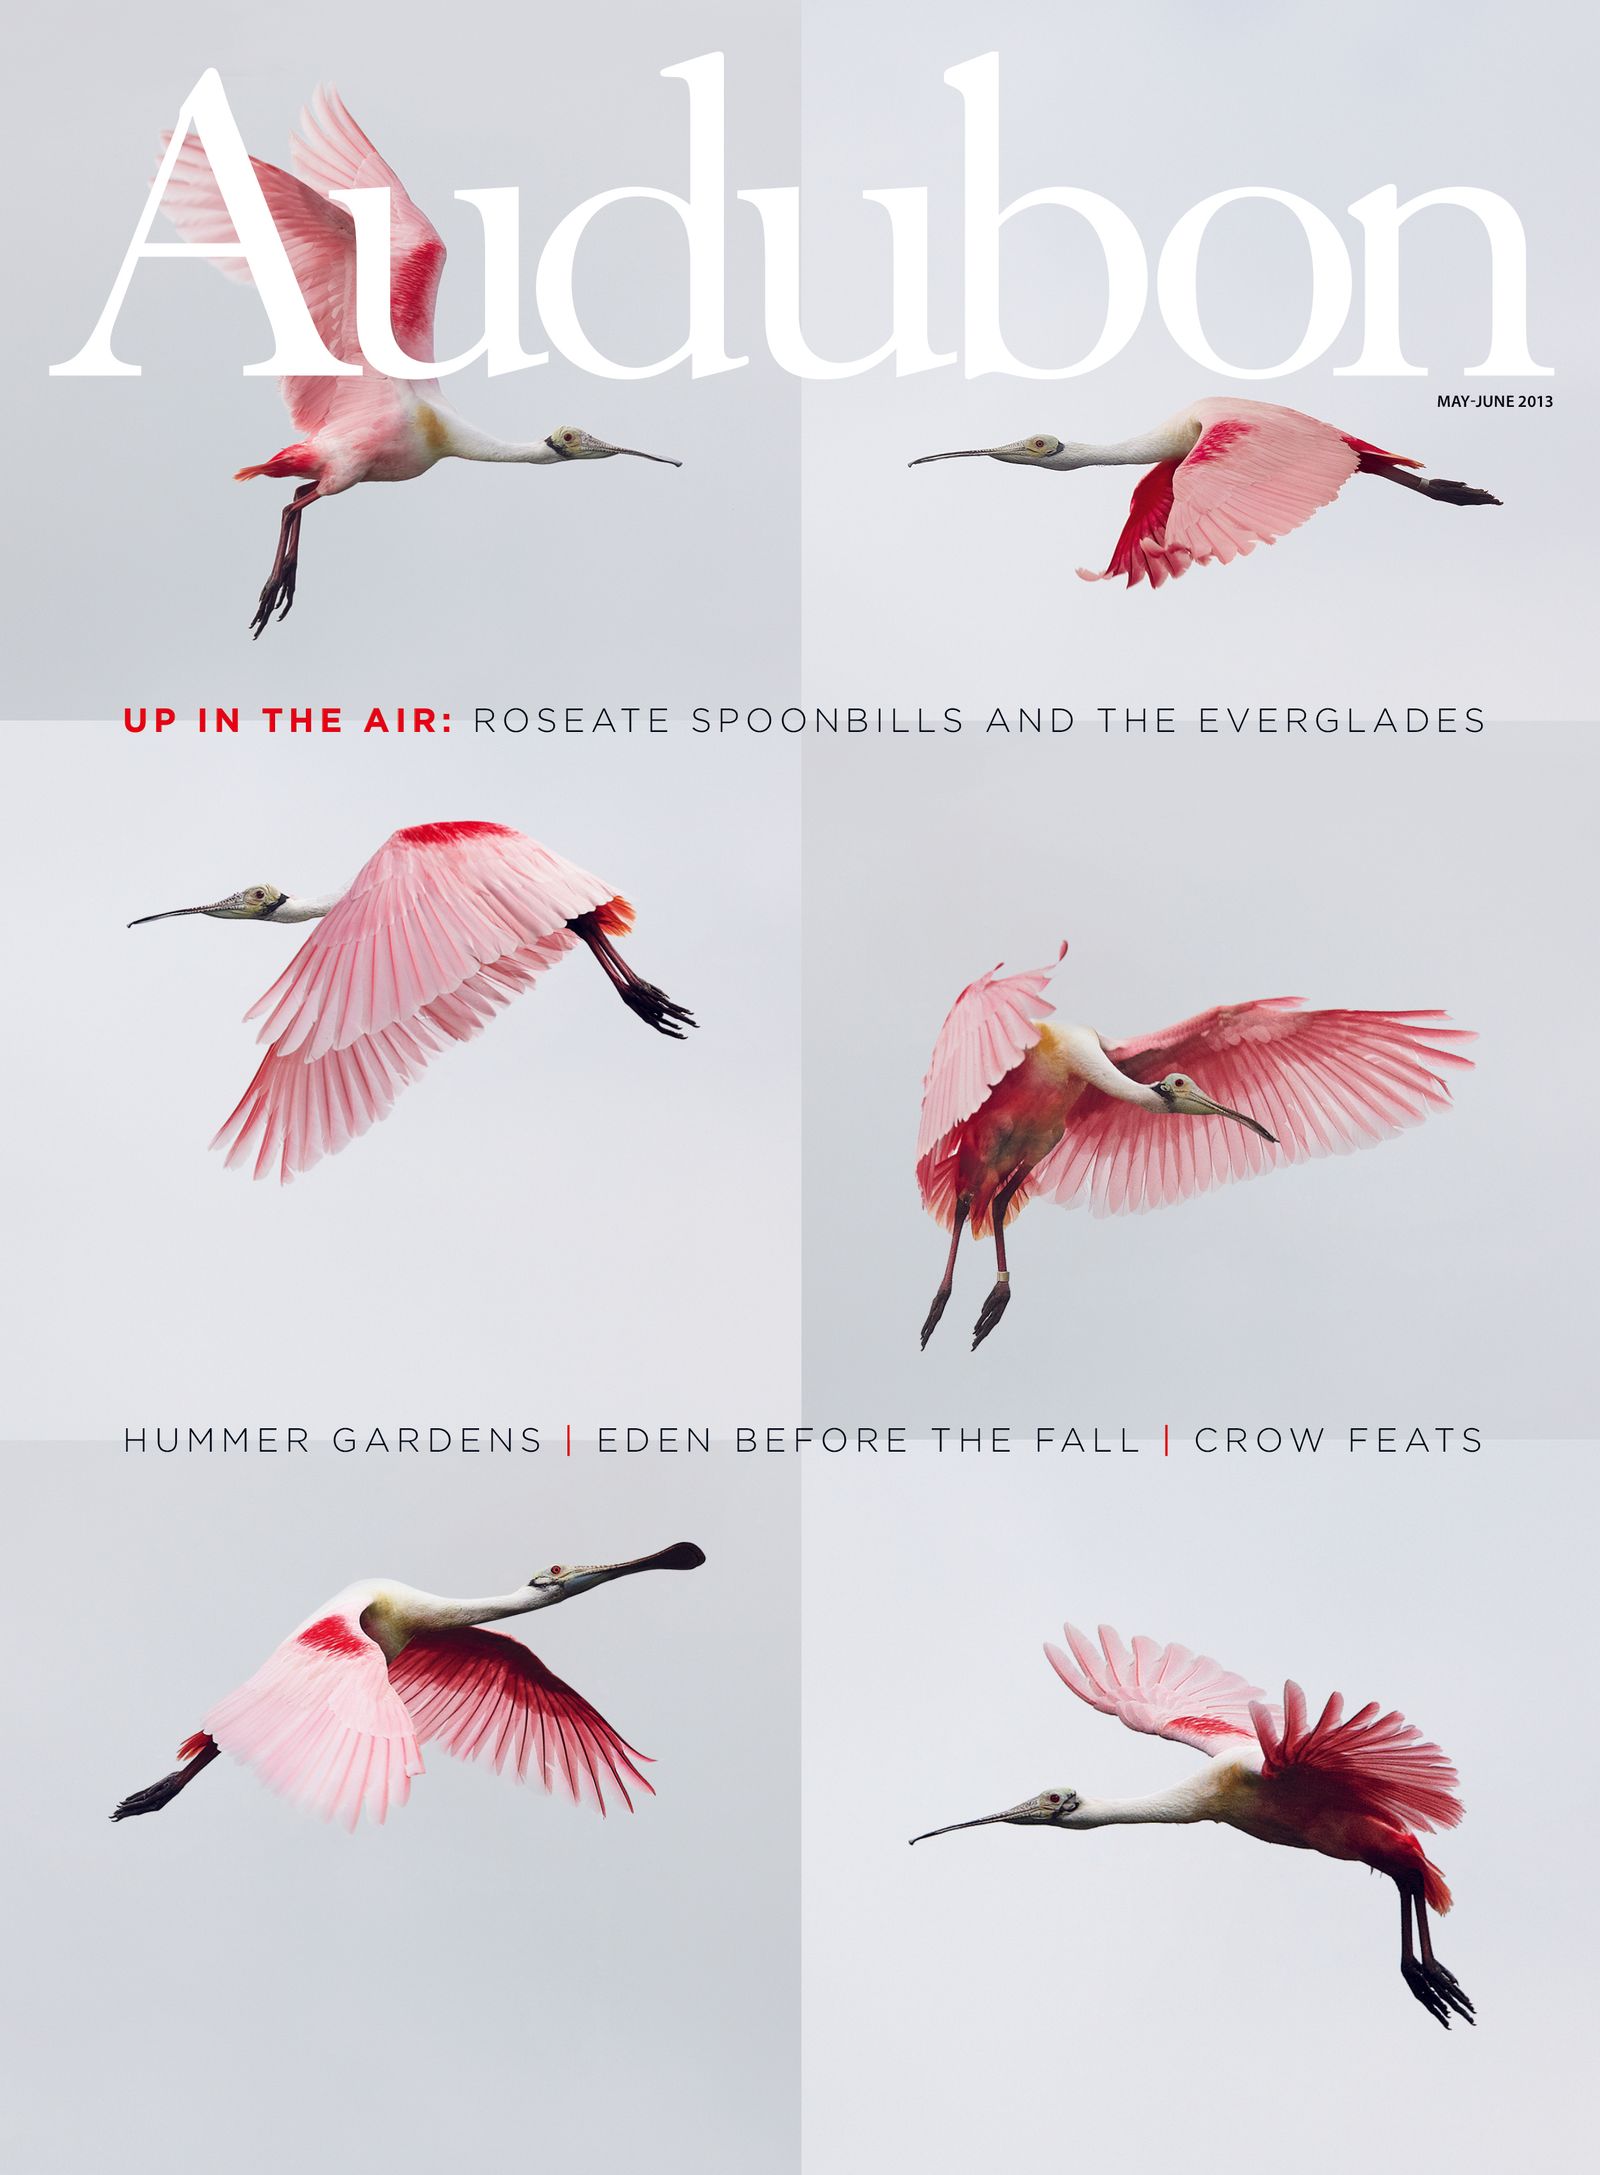
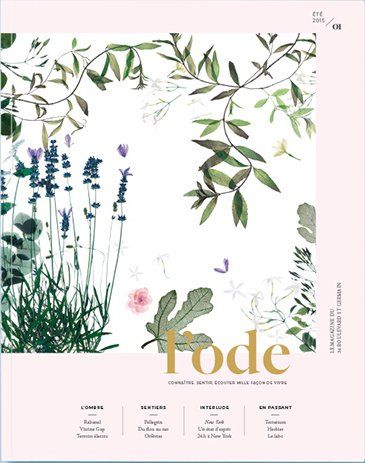
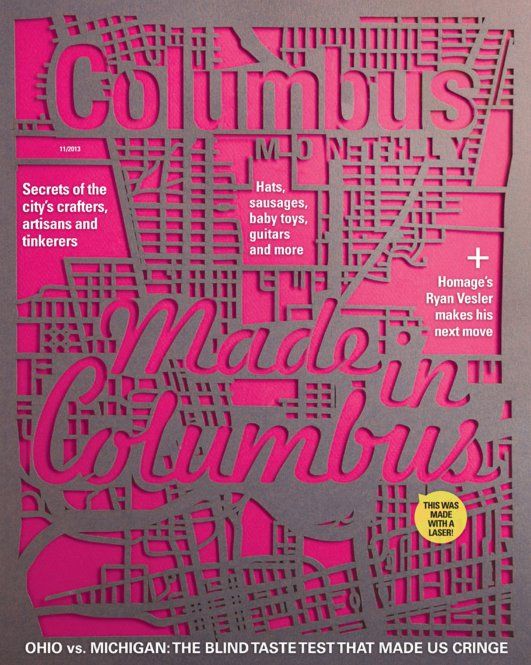
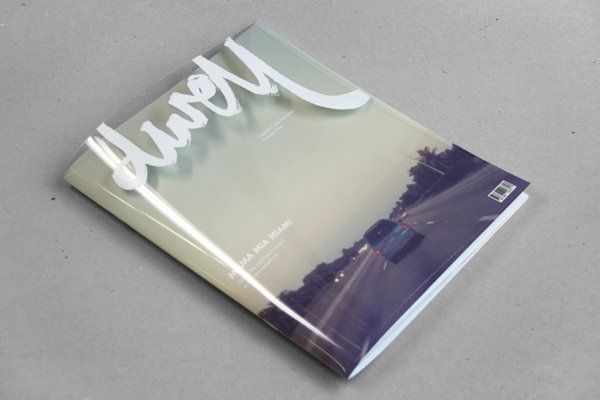
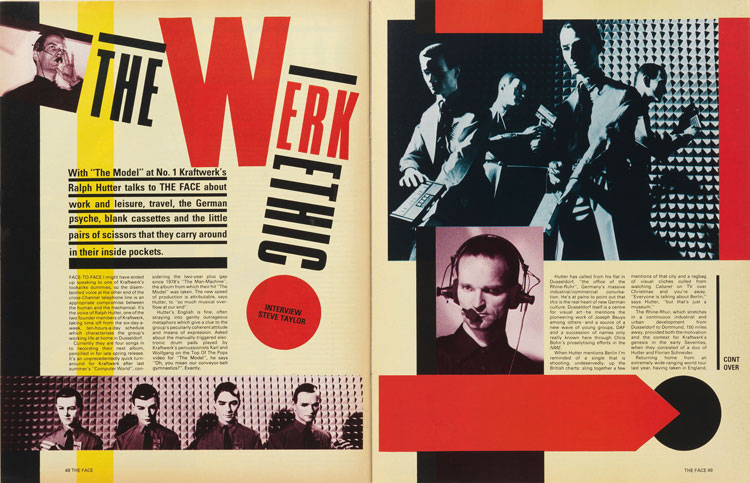
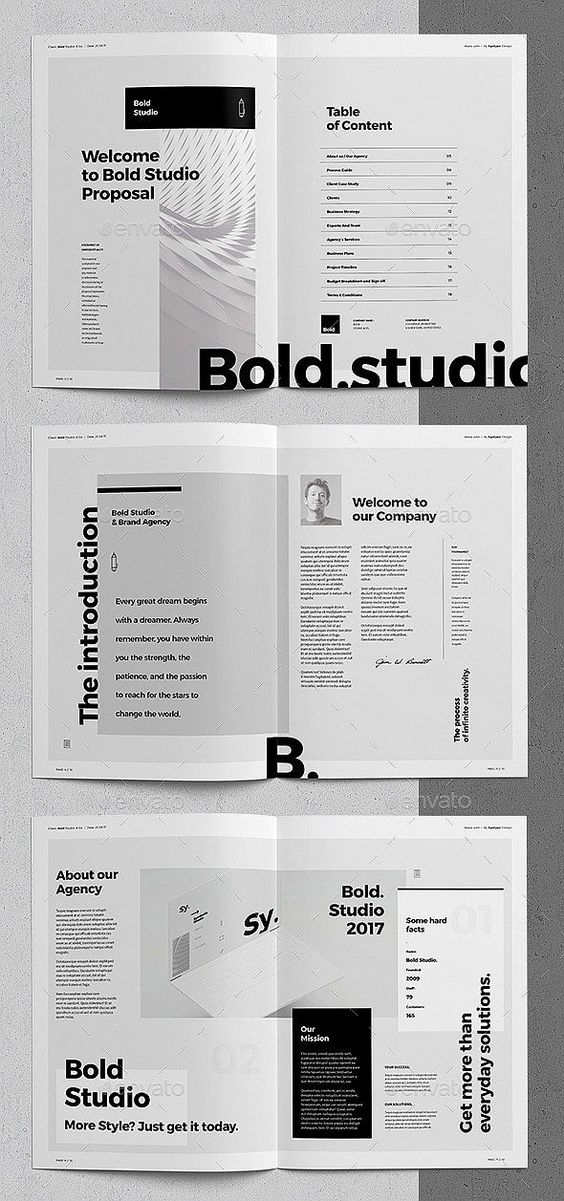
An effective way to add a consistent aesthetic style to your zine is to find magazine designs you like (some examples provided below) and emulate them (not direct copy). Try Pinterest or Designspiration for example. Study these periodicals and look at what elements typically tie pages together? What sort of mood are they creating (i.e., what does it feel like)? What makes them cool?
Or, as in past projects, create mood and atmosphere by combining two adjectives as basis for stylistic decisions (also helpful in concept development). Then stick to it throughout.
The cover
Your first impression and opportunity to grab the viewer and invite them to see more. What elements will you use? Illustrations? Photos? A combination? Don’t forget all the techniques we’ve used to create original content in past projects. Think of scanning, your own photography and anything created in the real-world before resorting to the web. Adding such unique elements is also a nice nod to original zine creation.
Typography
A crucial component. Don’t slack on making the copy and titles of your zine look good. For the cover, the title should appear toward the top (think of people sifting through multiple zines). At very least, the title should take high priority in the design. Pick good reading and heading fonts fitting your concept. Edit and check (and re-check) for typos and grammar.
Think of using negative/white space to your advantage. Not everything needs to have content/text.
Printing & Production
Previous CD booklet instructions for both Photoshop and InDesign still apply, but adjust for provided zine dimensions.
Don’t want to use staples to bind your zine? Fine. You have the freedom to bind as you wish, just keep in mind how it modifies layout and production time.
Choose good/appropriate paper stock.
Optional Items to Consider
- Outer cover/sleeve/bag
- Leave behind (eg. Sticker, buttons, poster, etc.)
- In true zine spirit, perhaps print/photocopy extras to give/distribute to class mates
Explorations
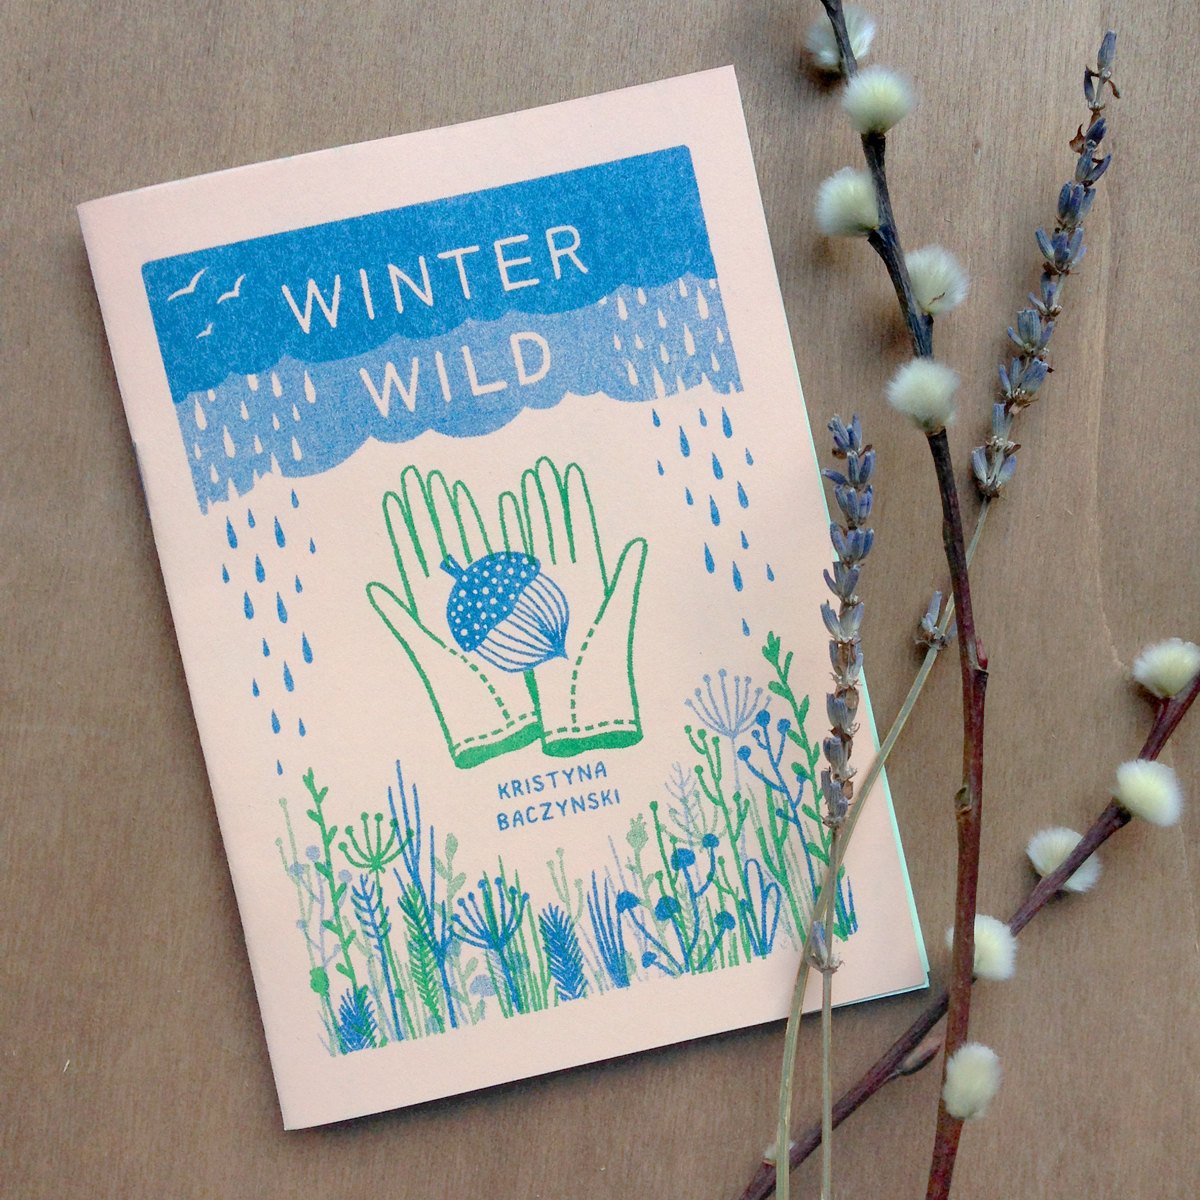
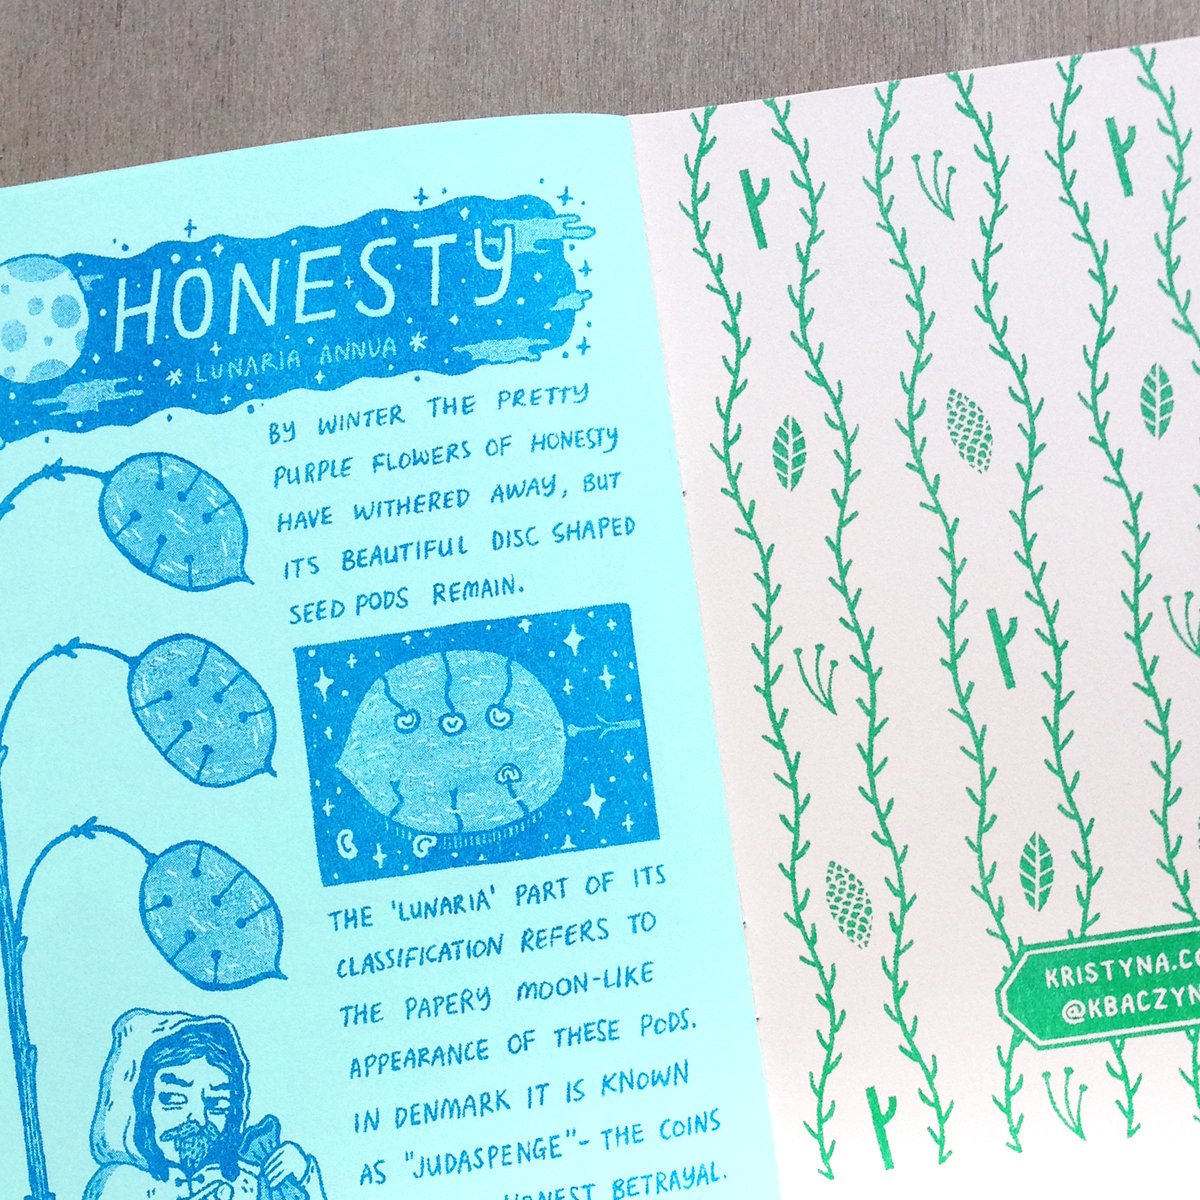
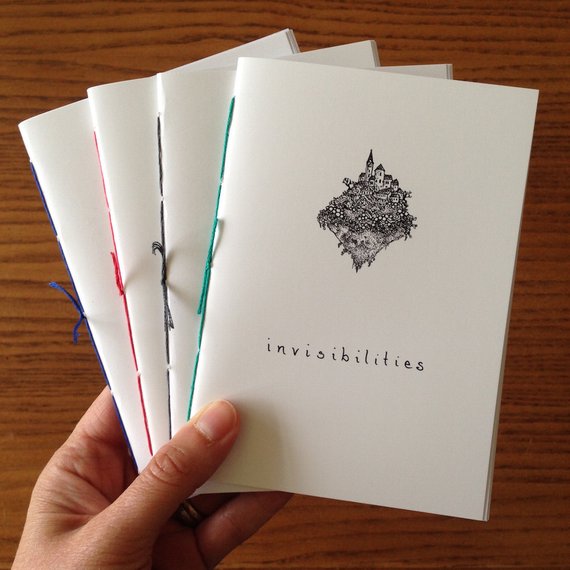
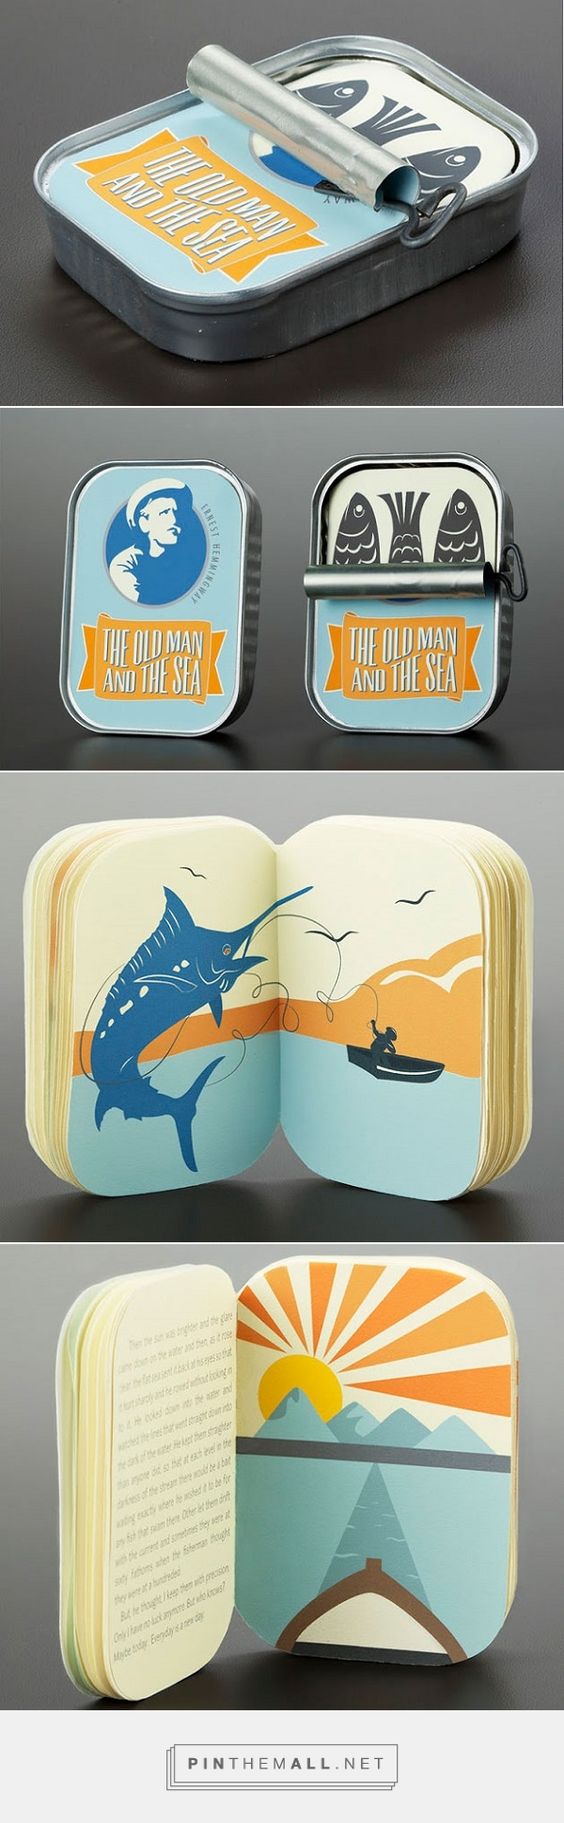
Zine Examples
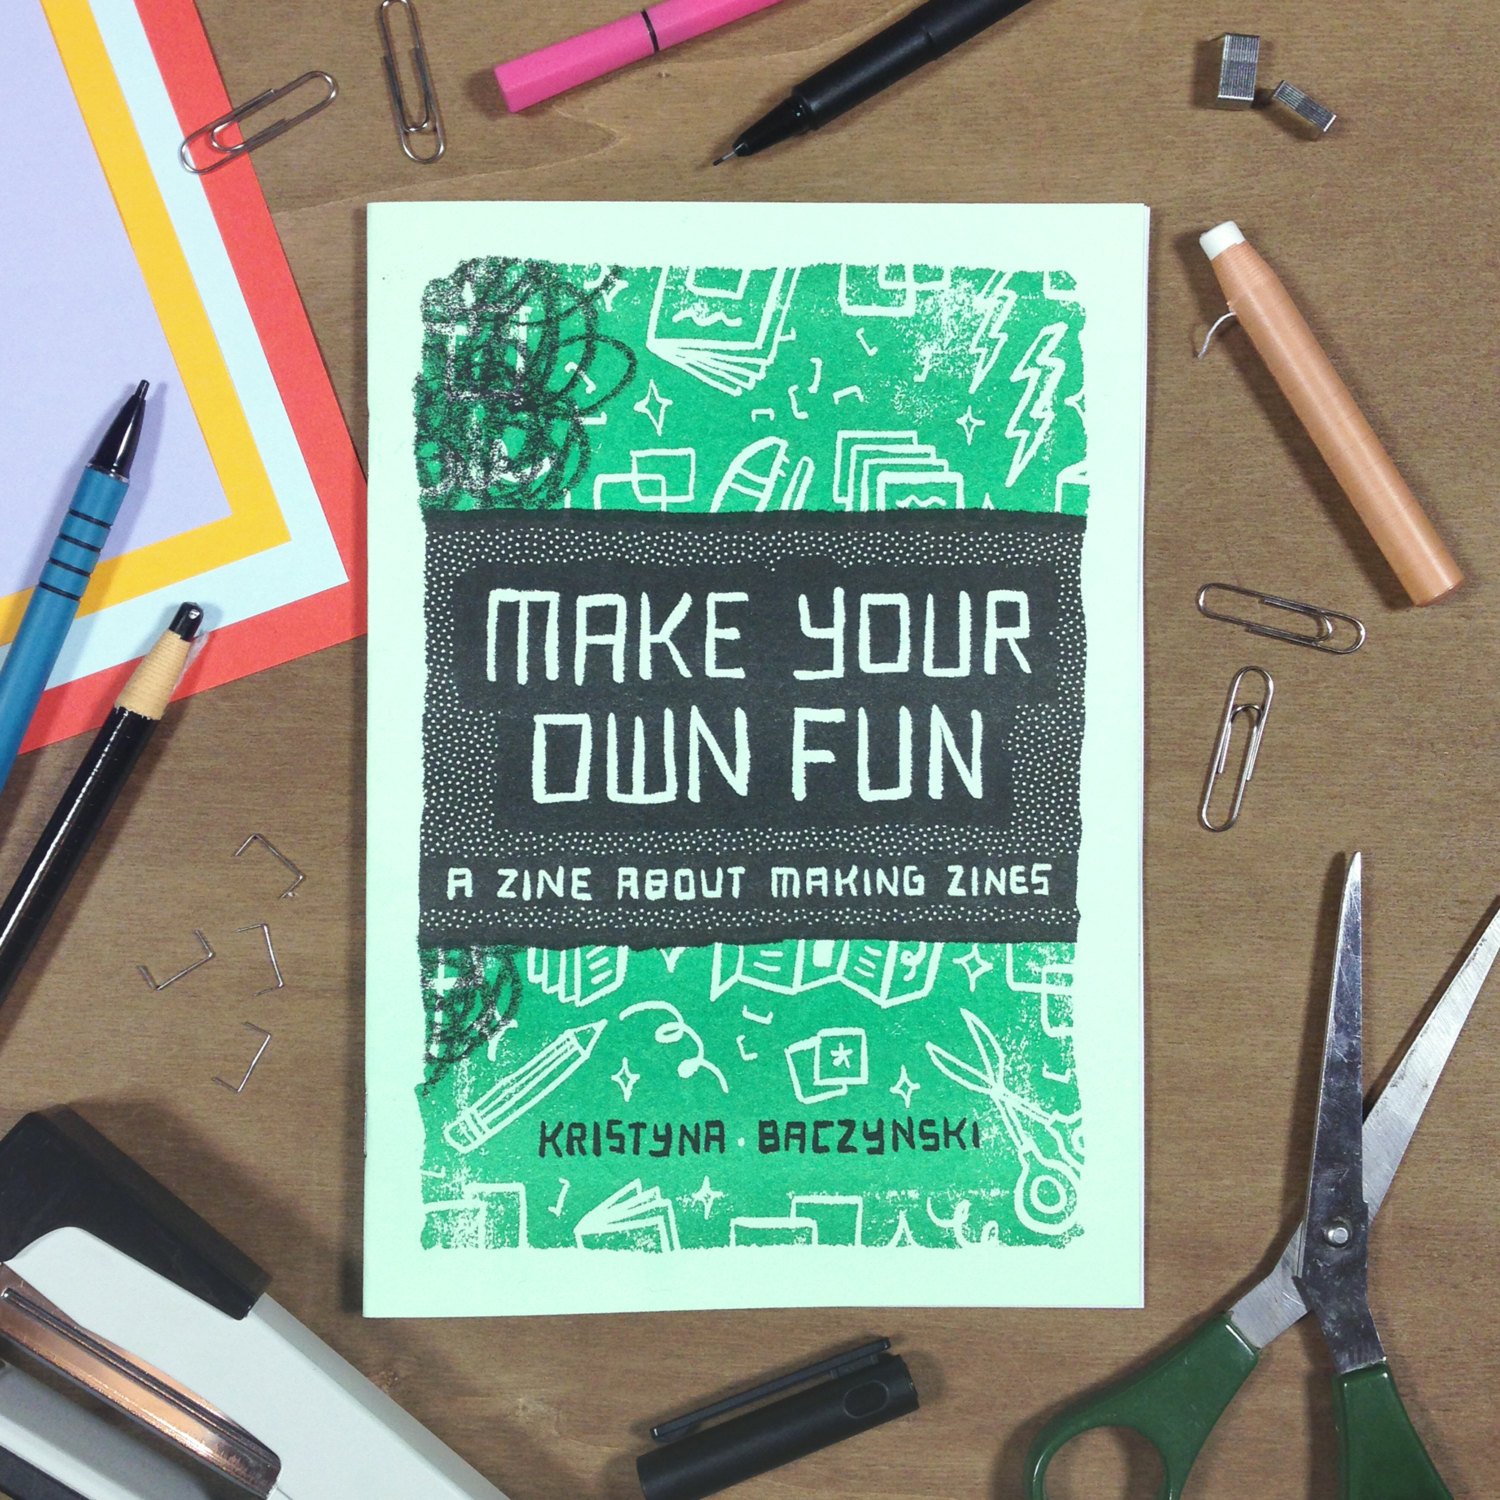
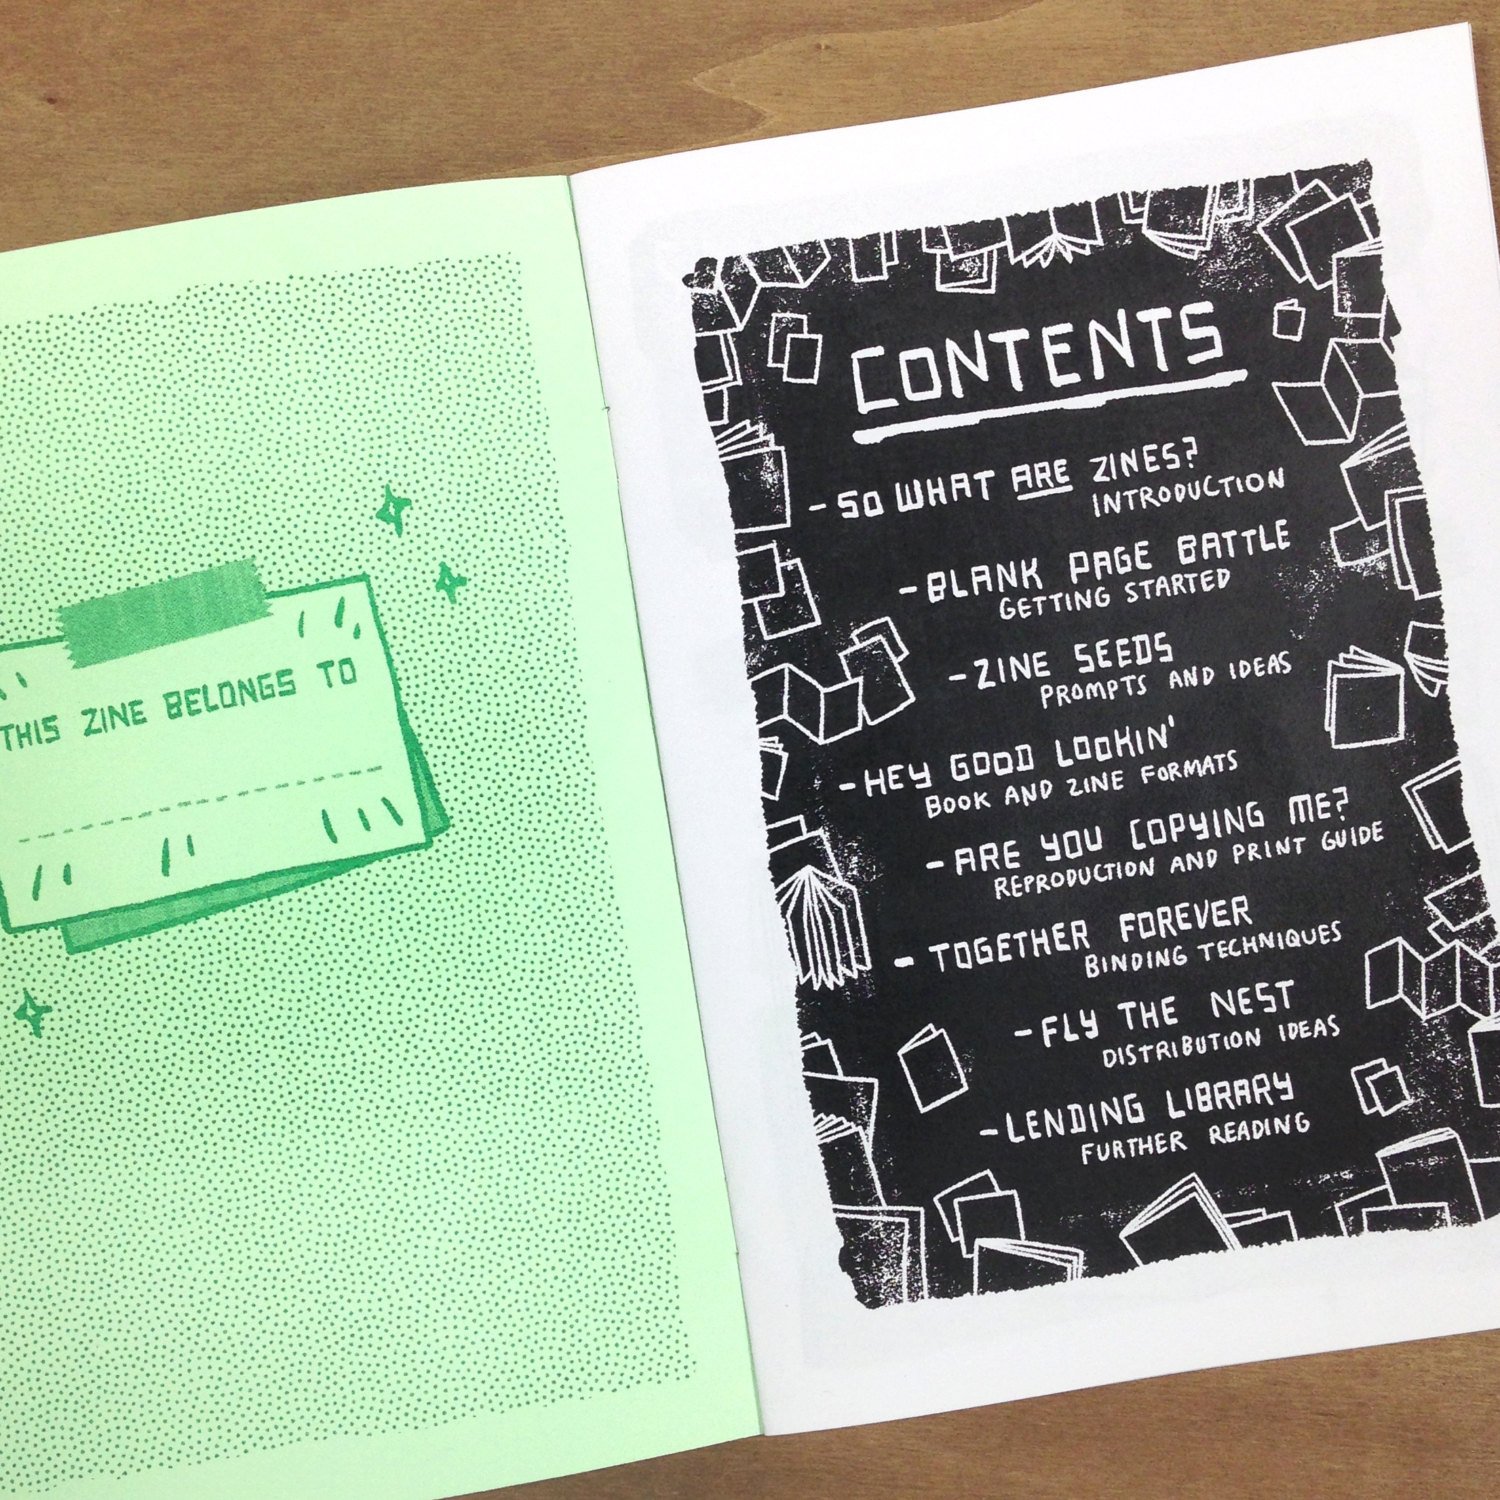
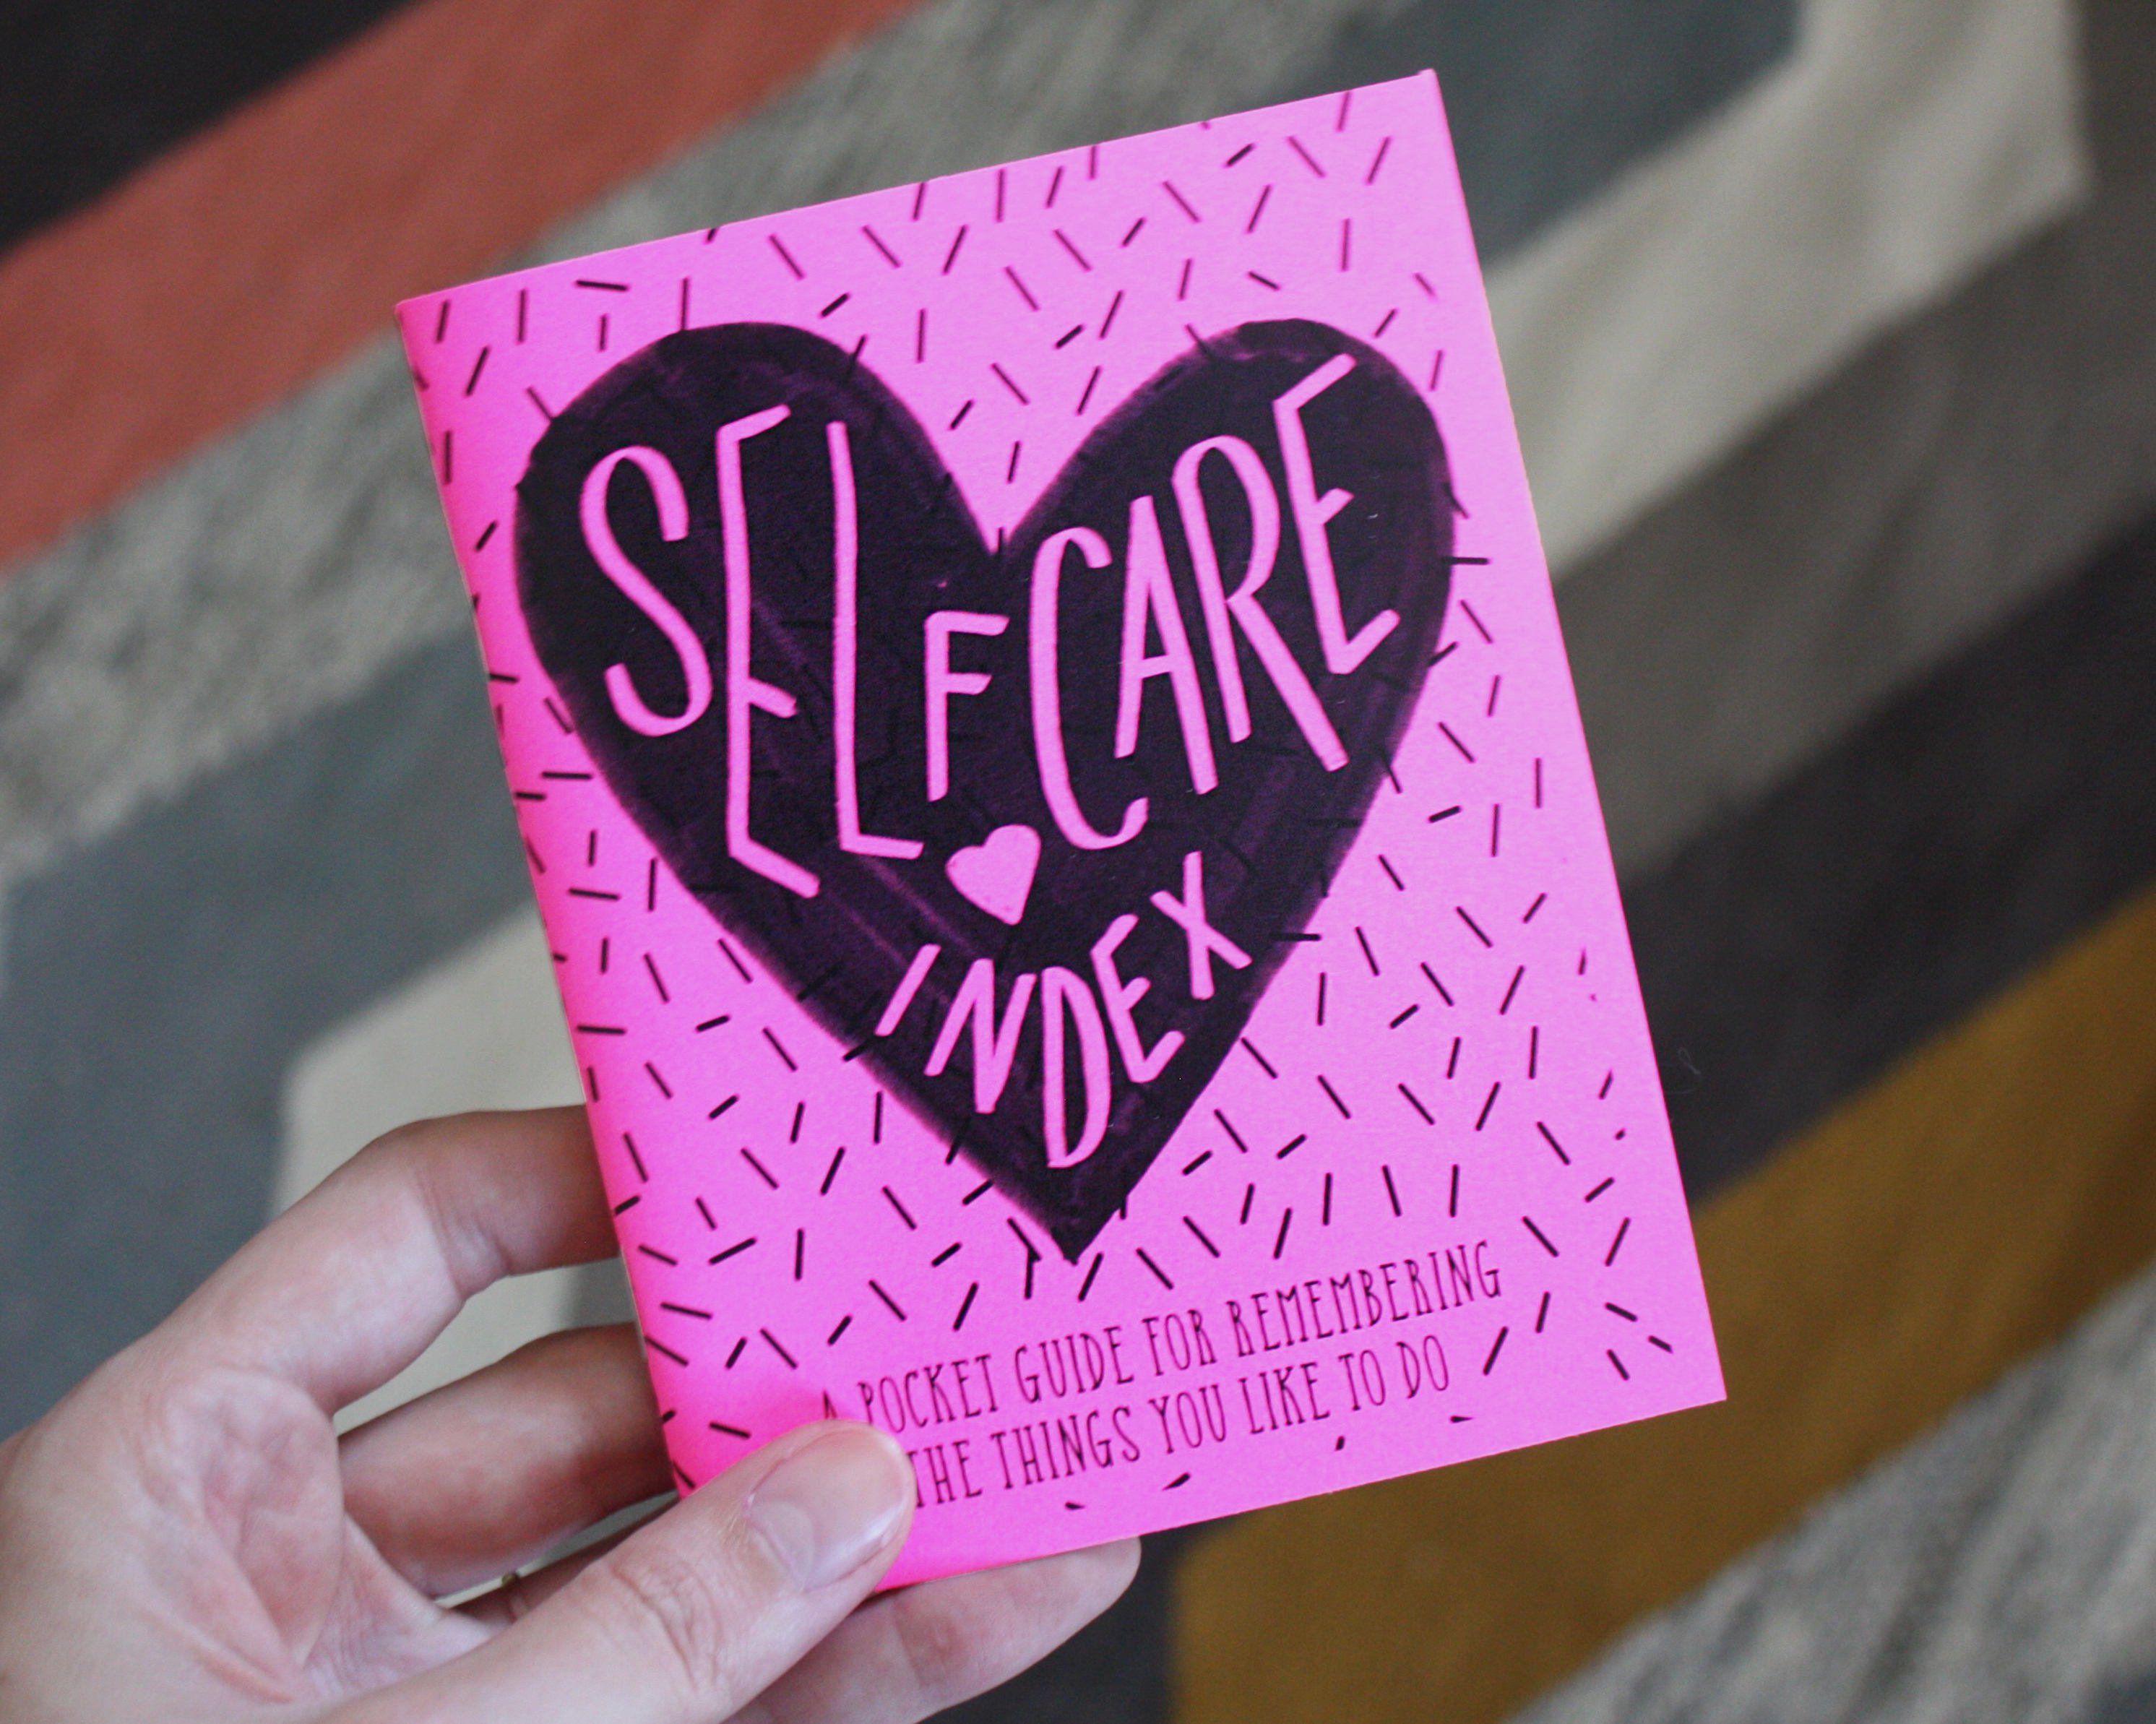
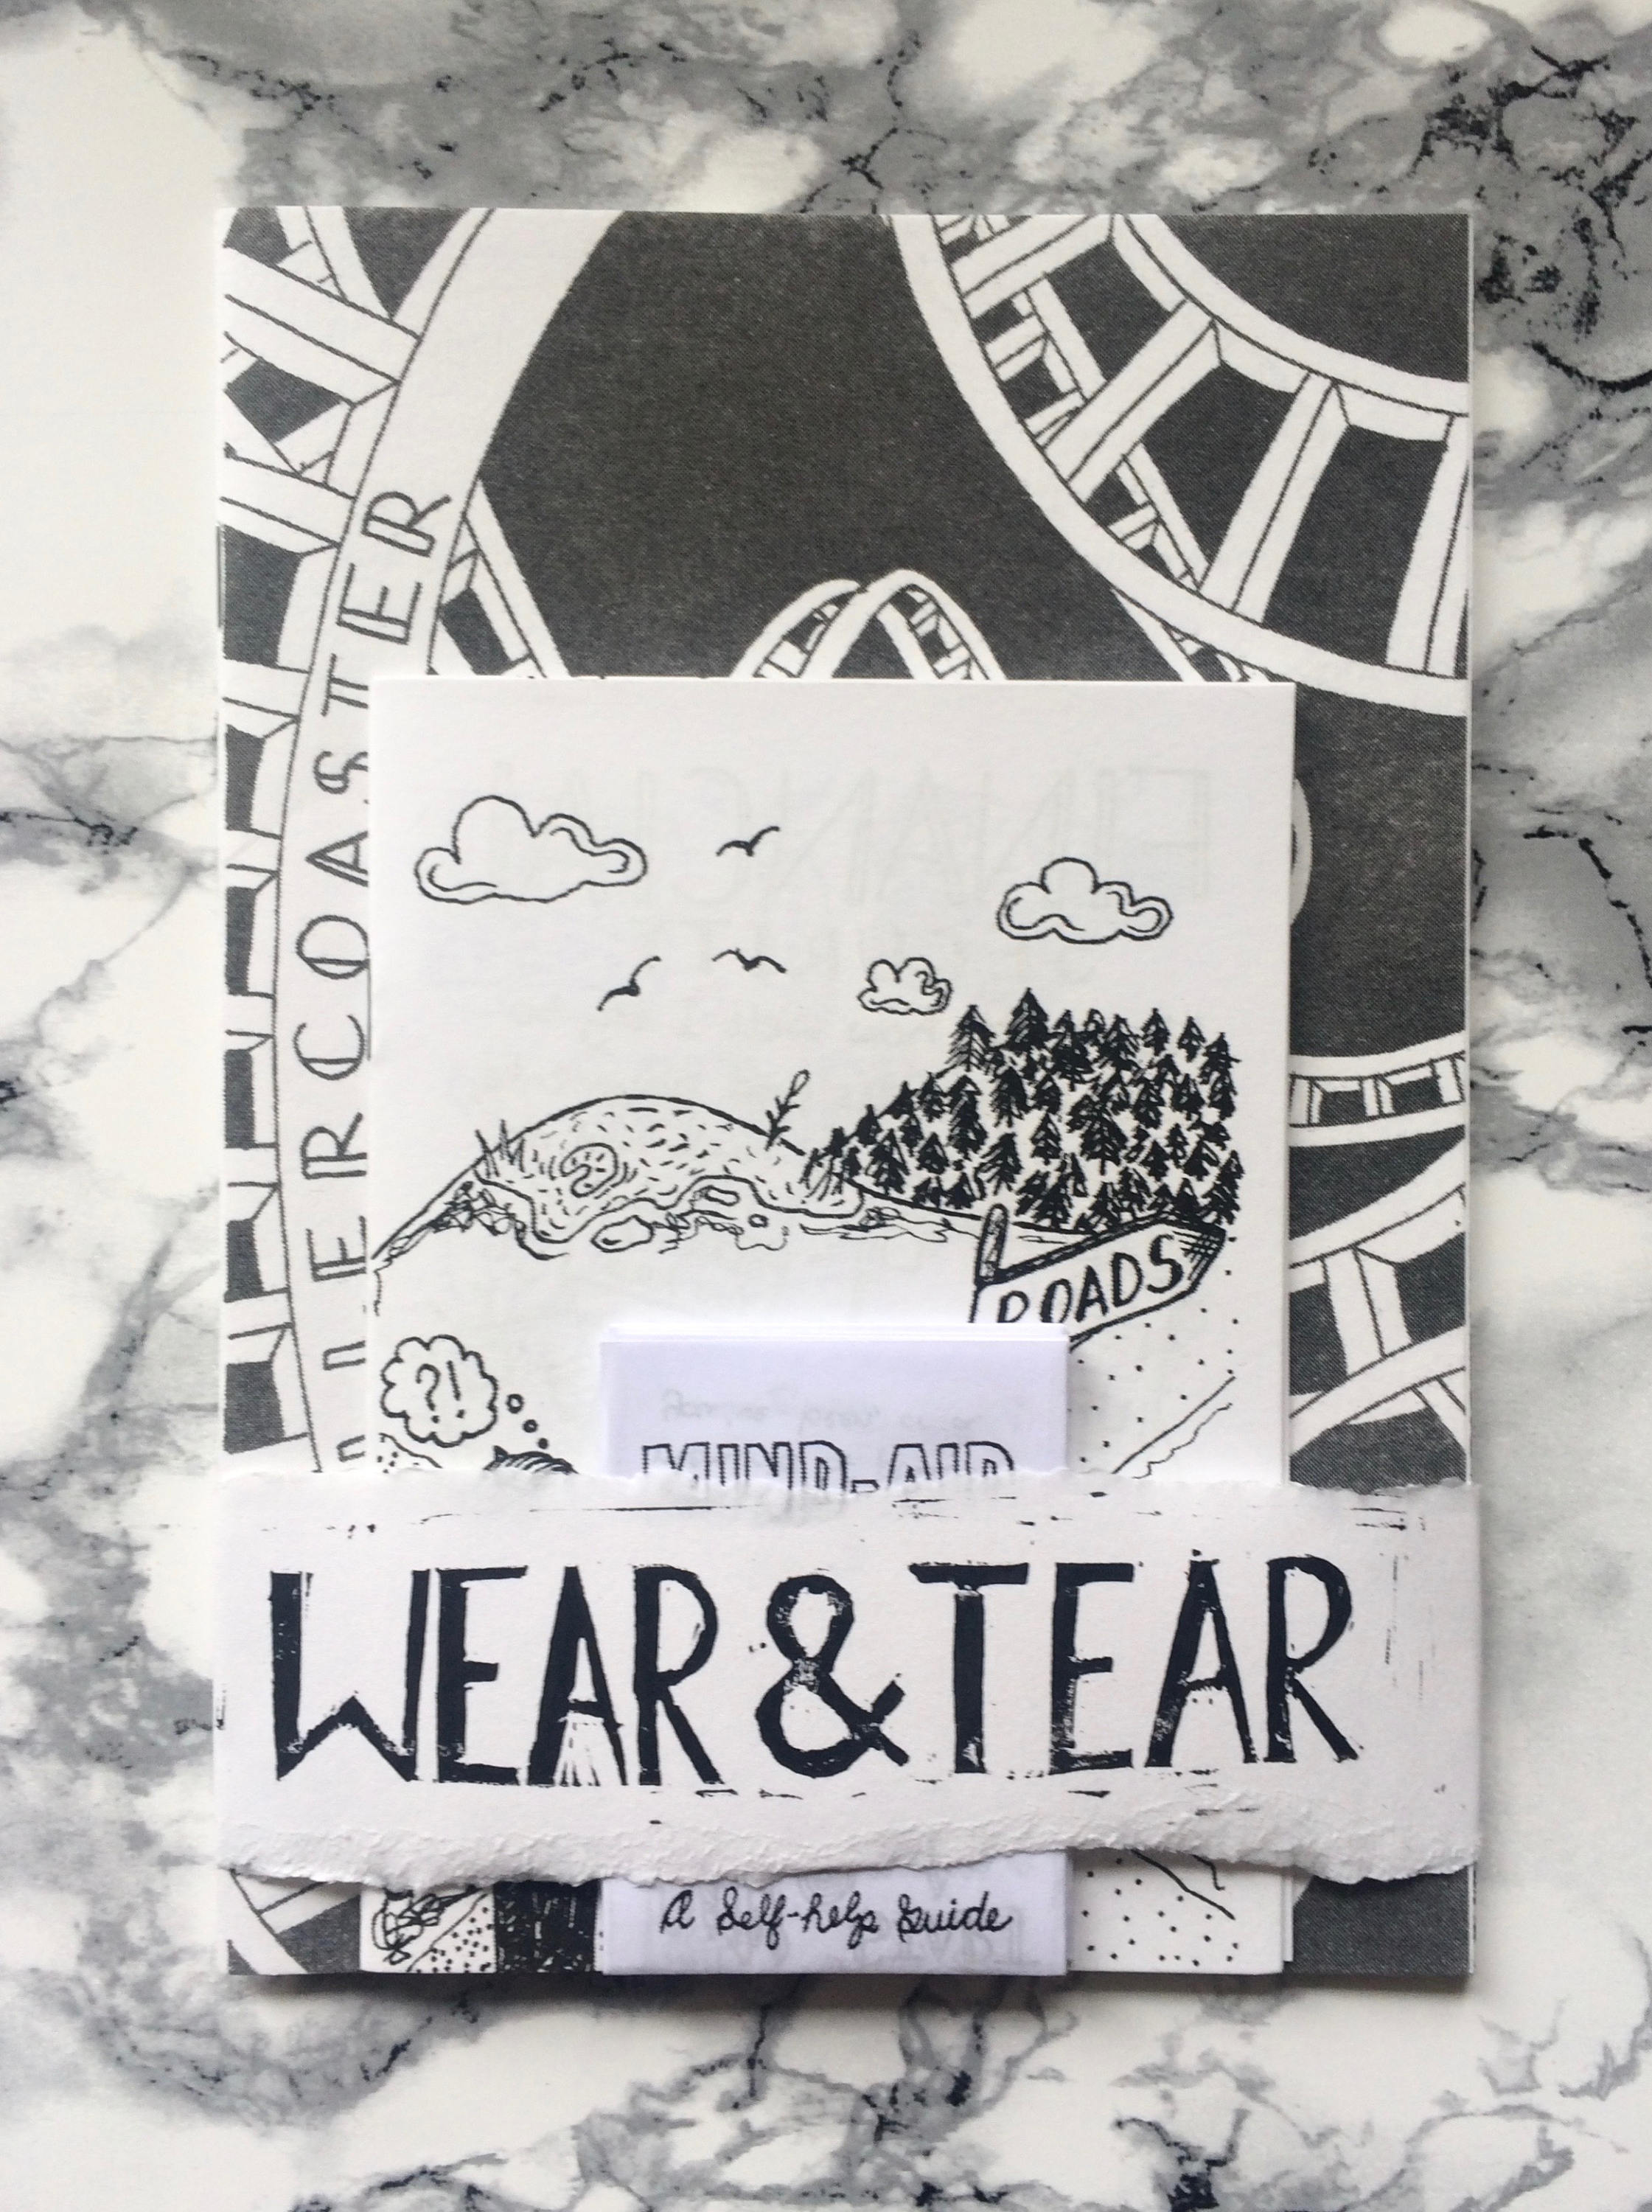
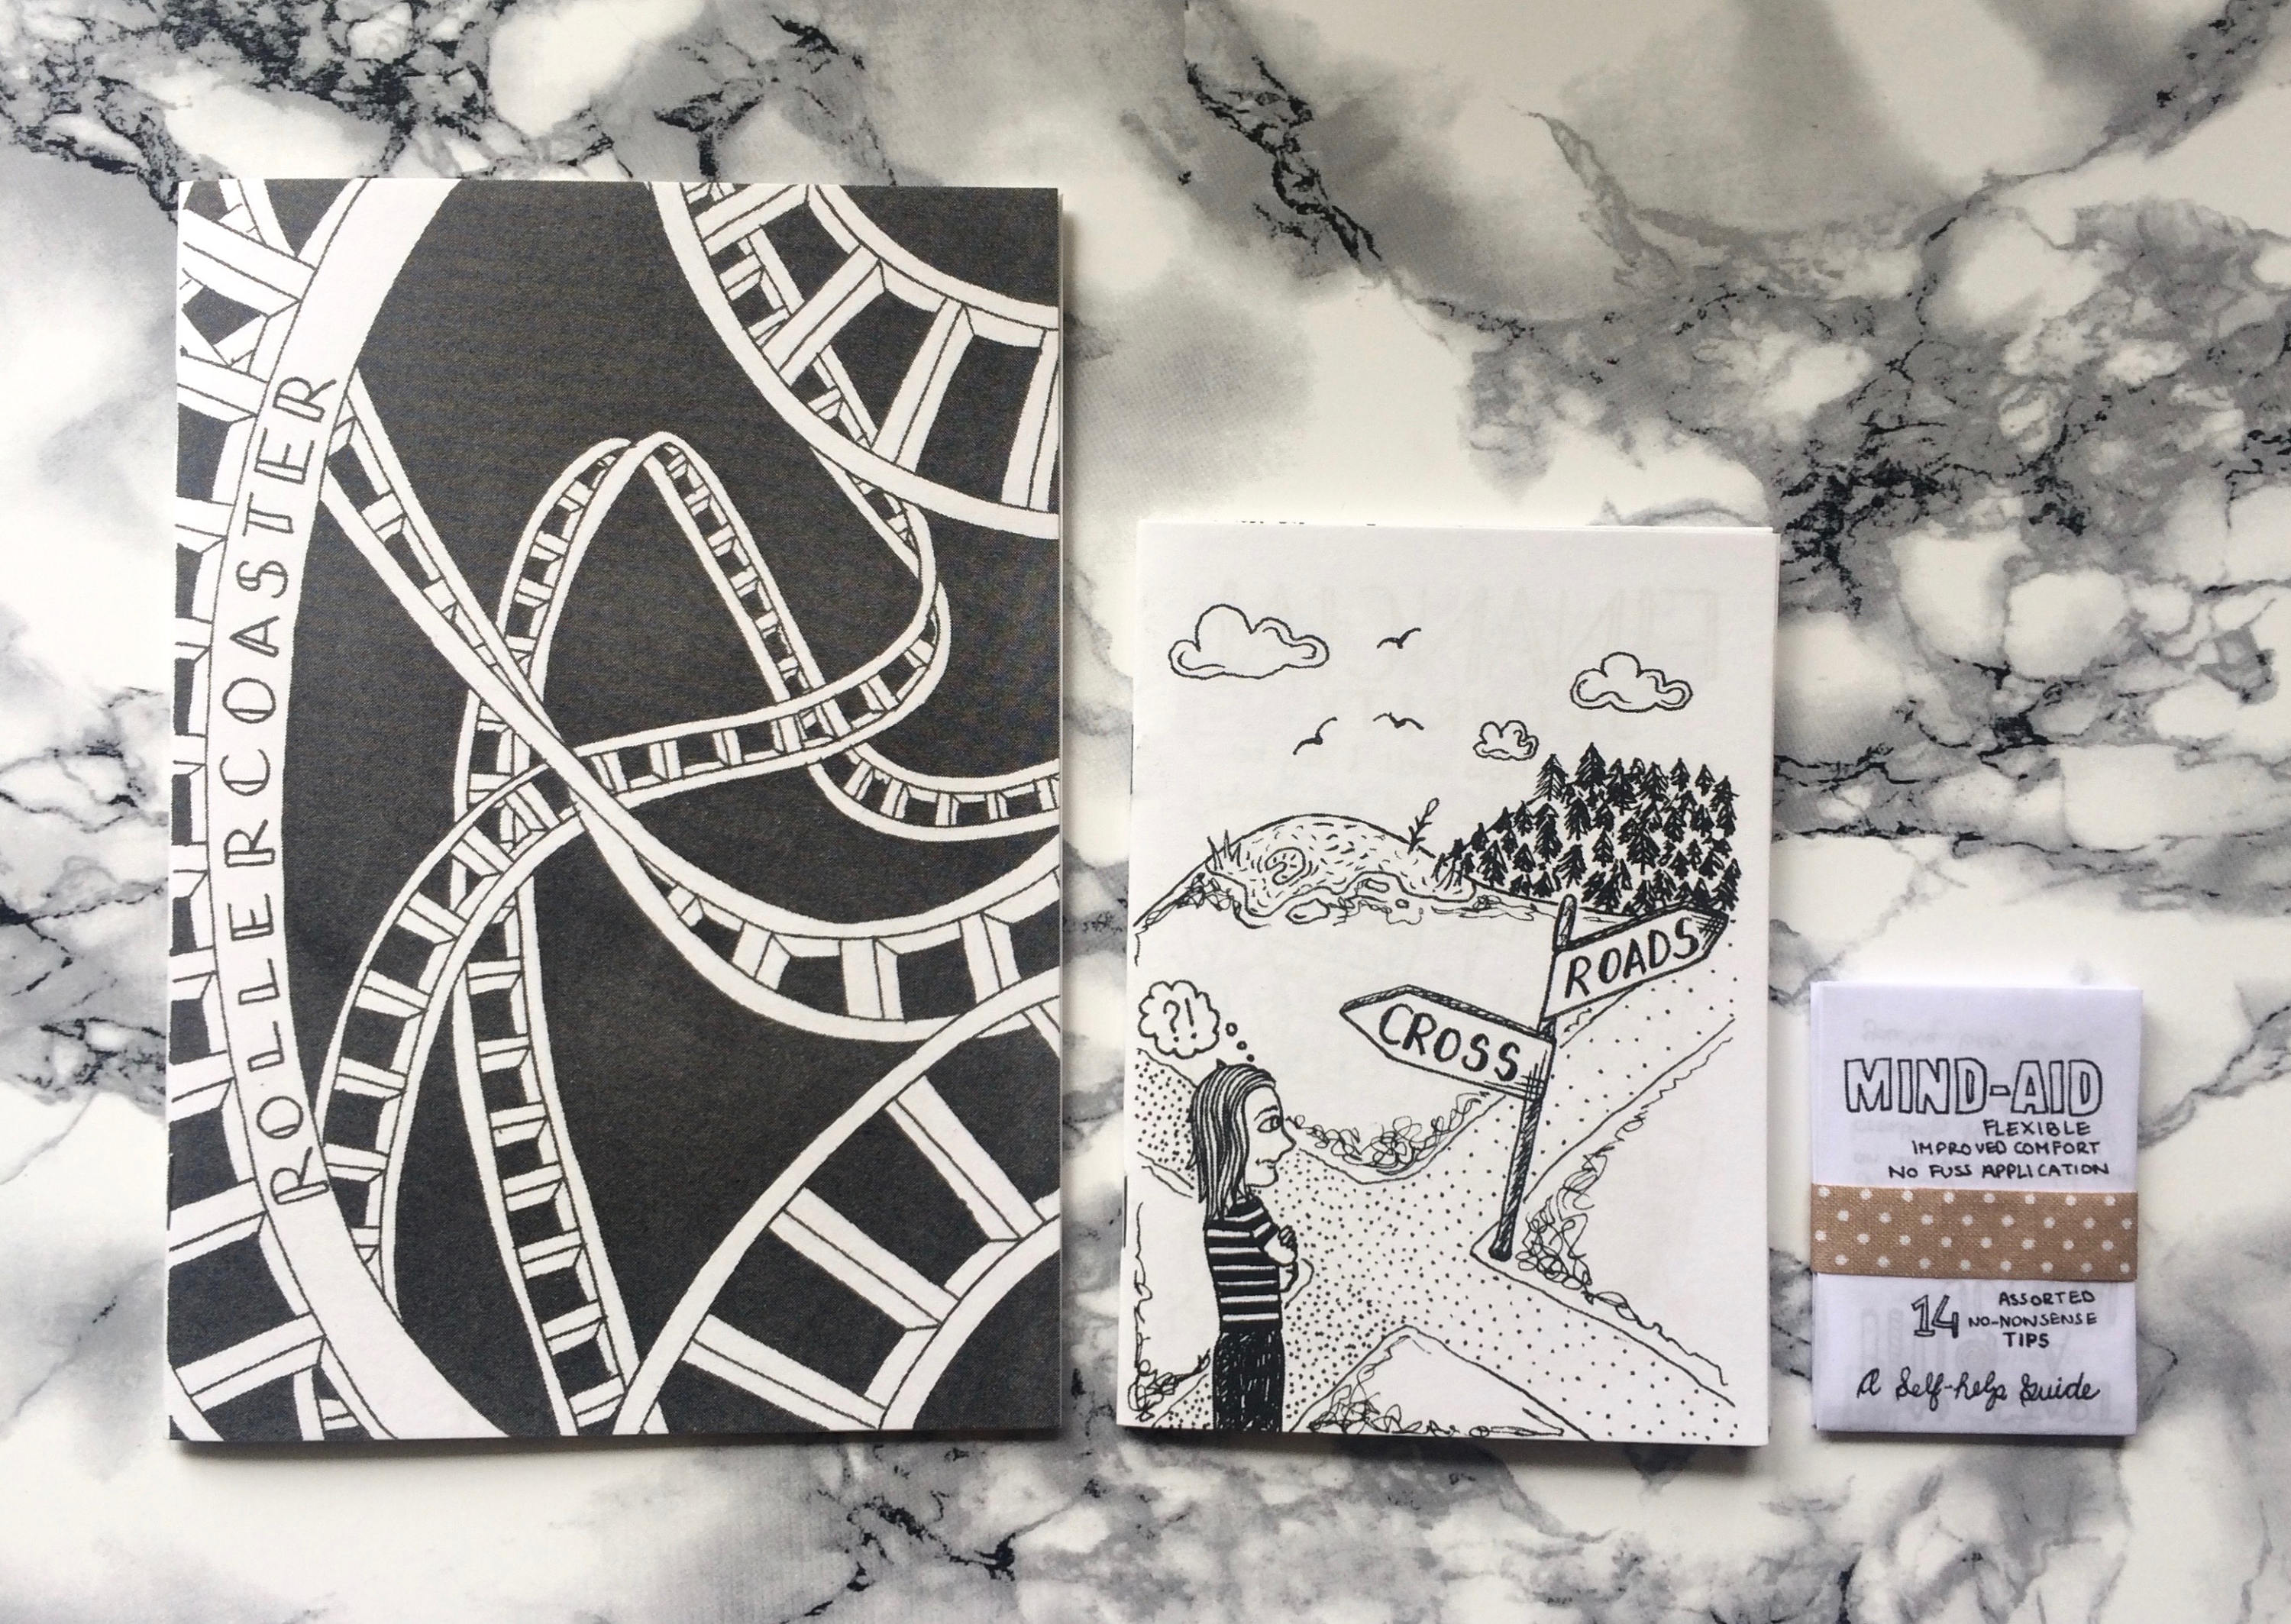
Magazine Covers & Layouts