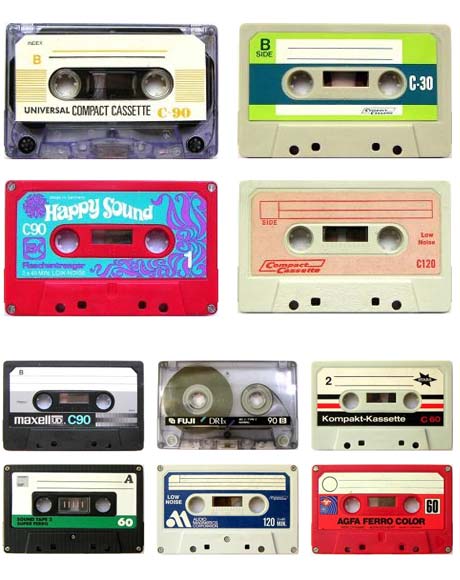
Concept Presentation Outline (InDesign)
I recommend the following:
- Intro slide:
- Your name, date, and client’s band name
- Research Section:
- From the client’s garage (3–5 examples)
- Found research images (3–5 examples):
- Concept Section:
- Talk about your concept (the “what” and “how” written out then explain). Example: “I’m going to explore “Earth by making it feel…”
- Type Treatments Section
- Ten different “type treatments”—created in InDesign and/or PS—for the band name as it might appear on the cover of the disk
- Sketches Section: of ideas to date (can be rough).
- End Slide: with “thank you” and a repeat of intro slide information
Plan on talking for 5min at most so keep in mind the number of slides. Practice it.
Export to PDF
- To export to PDF from InDesign: File > Export > Interactive PDF… Note: Choosing “Interactive” will enable slide transition effects as an option in Acrobat
- Options to consider:
- General:
- Export As: Spreads
- Page Transitions: “Fade” (or any you choose)
- Compression:
- Compression: JPEG (Lossy)
- JPEG Quality: High
- Resolution (PPI): 72 (since for screen)
- General:
- In Acrobat: View > Full Screen Mode
Due Next Class: Concept Presentation
- IMPORTANT: Upload the PDF of your presentation on the class assignment I will provide by next class.
- Test your file works after you upload it (so download and check it)
- Also come to class with the same PDF on a USB drive for backup. From experience you may need it.
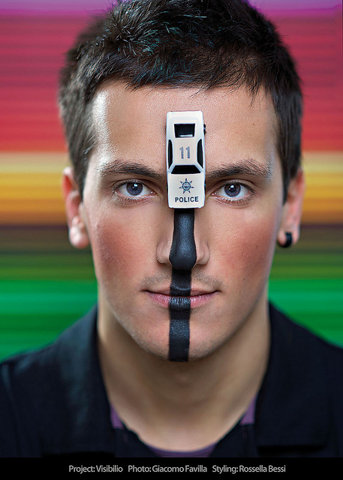
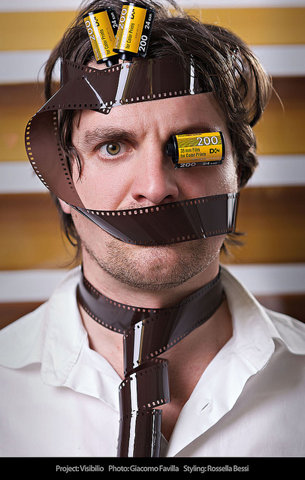
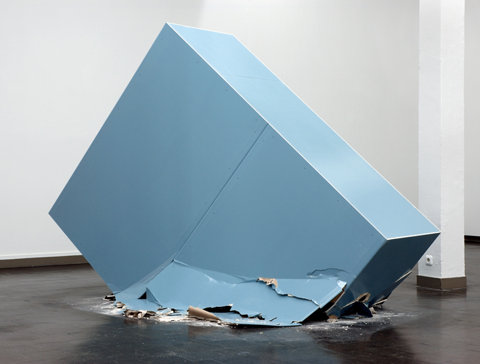
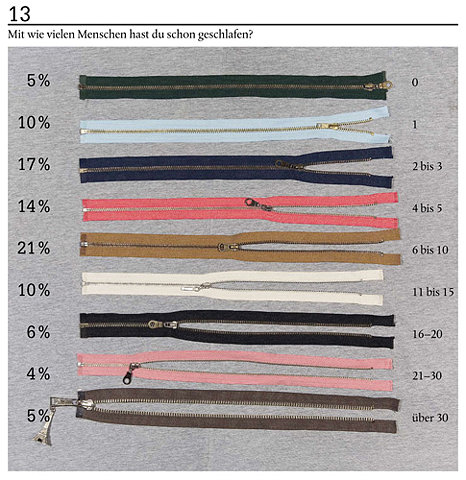
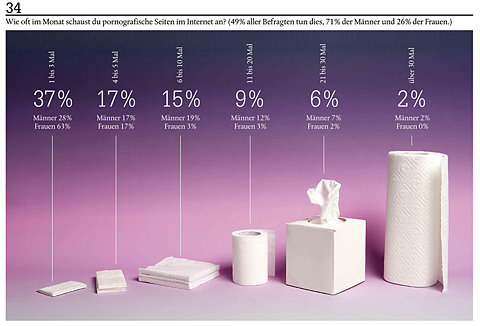
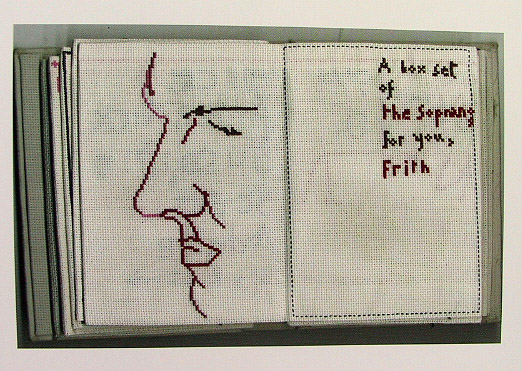
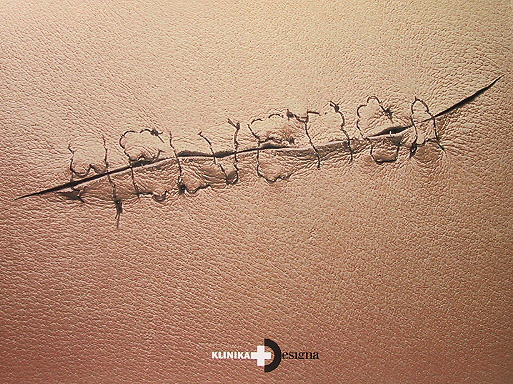
Some ideas to get the ball rolling…
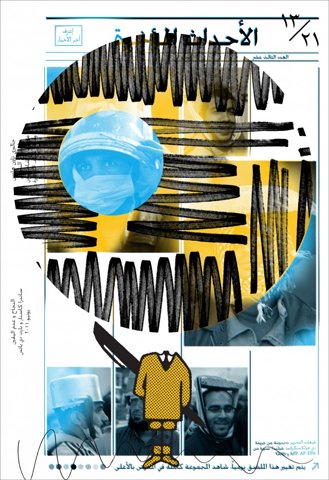

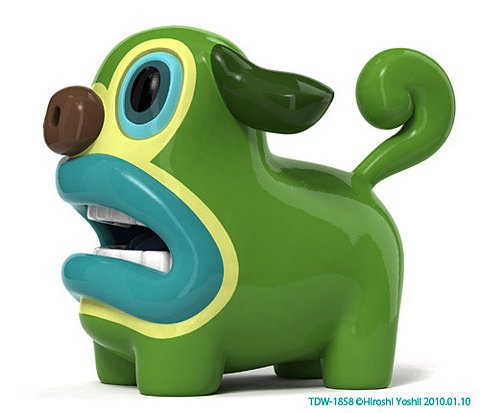
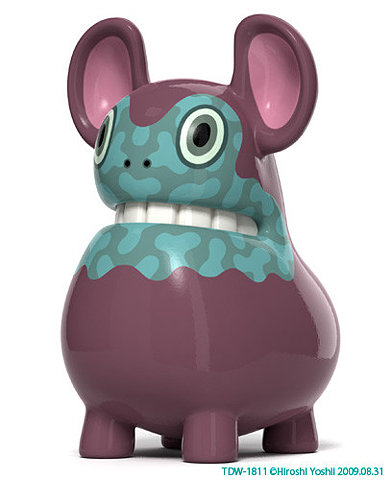






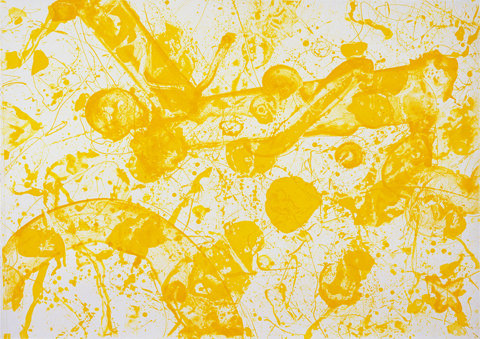
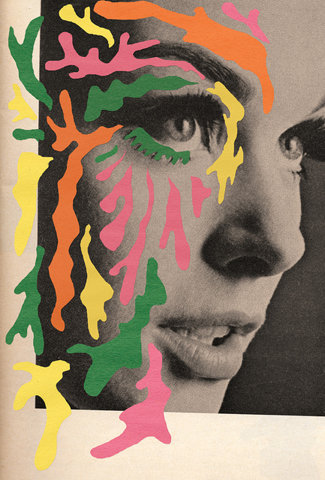
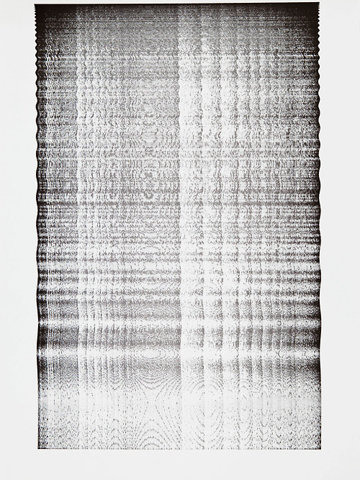
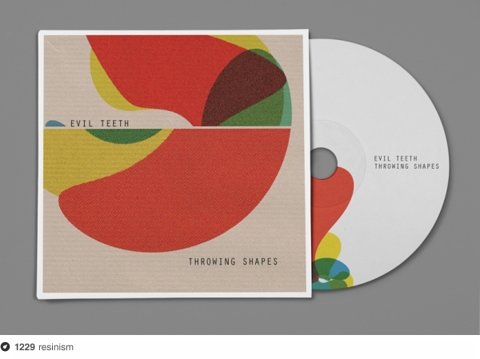
– – – – – –
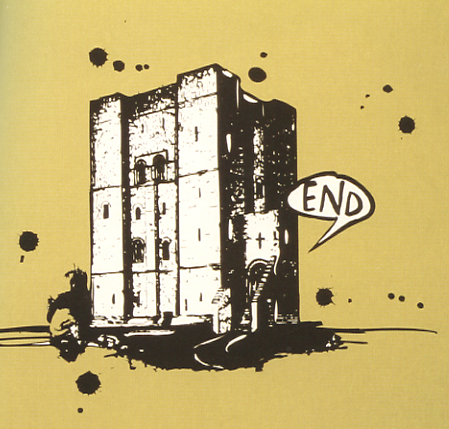
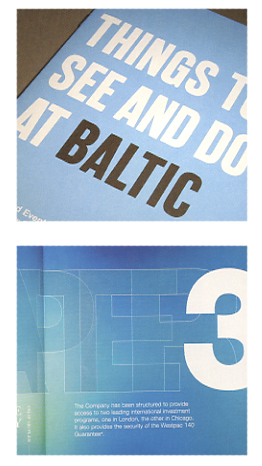
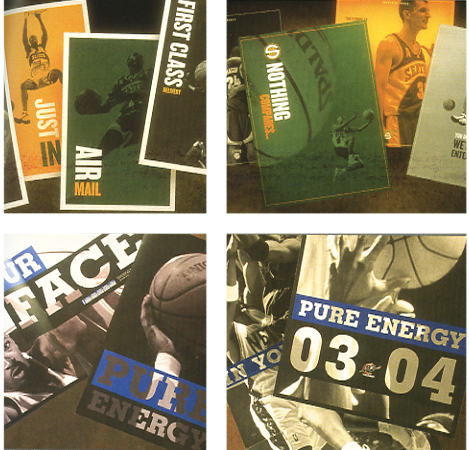
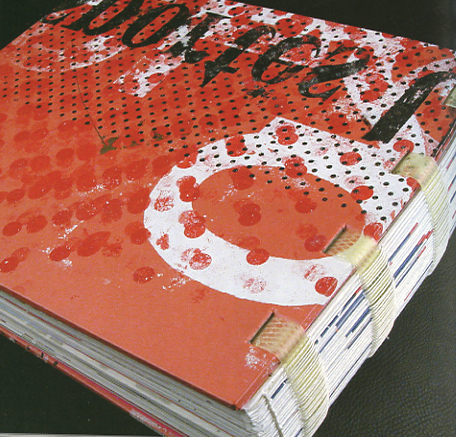
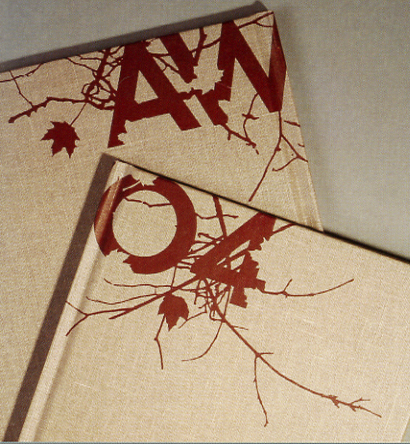
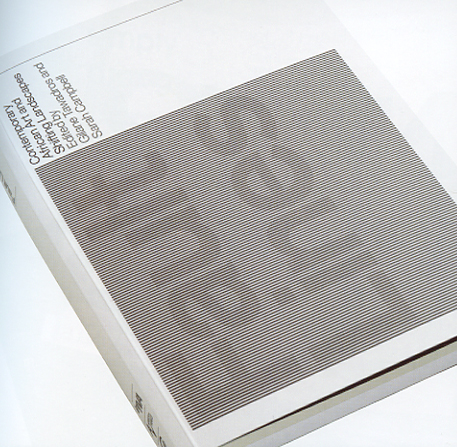
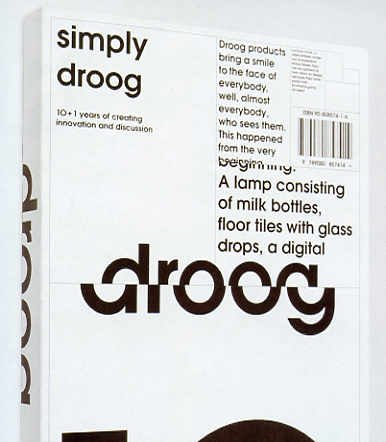
Below are type “treatments” to consider.
You should develop these in InDesign and/or Photoshop — keep in mind that you’ll need to develop at least ten ideas for your presentation!


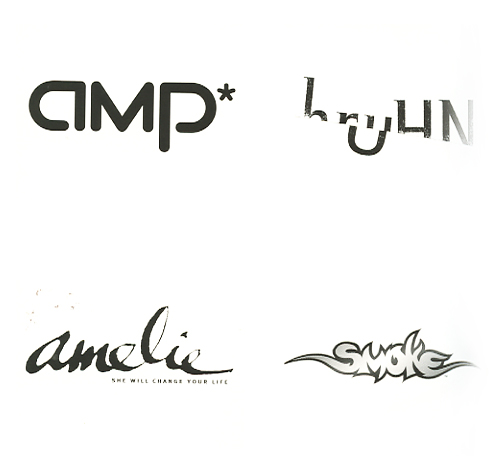

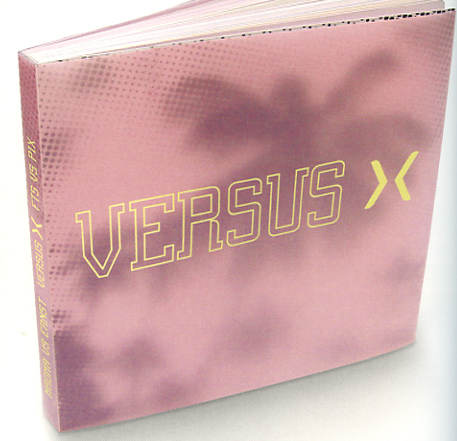
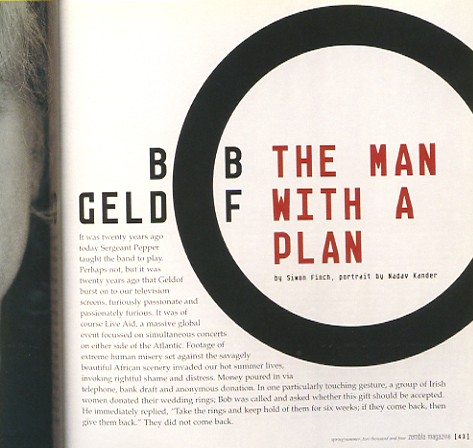
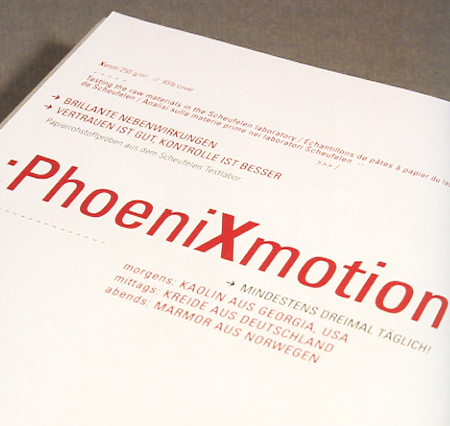

(BONUS) Booklet Production Details
Demo videos are provided in CI Learn under Project 03 module. The demo video shows the dimensions for the CD booklet so you’ll need to change them to fit the vinyl record booklet, provided below.
Note: in demo videos ignore anything to do with other semester’s project requirements. Follow the requirements provided on this website and CI Learn for what is required this semester.
Start building your InDesign and Photoshop spreads with the following settings:
InDesign Setup
- In InDesign the setup is easy. Create a new document and begin by selecting the “Compact Disc” preset under the “Print” tab. This will set the stage for incoming artwork from Photoshop.
- Change dimensions for 7″ vinyl record booklet insert to…
- Width: 6.7855in
- Height: 6.7855in
Photoshop Setup
- Because PS doesn’t use bleeds, your canvas dimensions will include them. Here are the exact dimensions you’ll need depending on if you’re creating artwork for a single panel or a two-page spread:
- PS Single Page (Rounded up): 7.036 h x 7.036 w
- PS Two Page Spread (Rounded up): 7.036 h x 13.821
- Once the PS document is set up, you’ll need a way to visualize where the bleeds/crop line will be. To do so, in the menu, select “View > New Guide Layout.” Then set the margin to .125in. This will add a guide all around to represent the crop line (i.e. bleed boundary)
- You are responsible to find dimensions for other parts of the 7in record (e.g. label, and sleeve). Hint: can be found online (Google).
