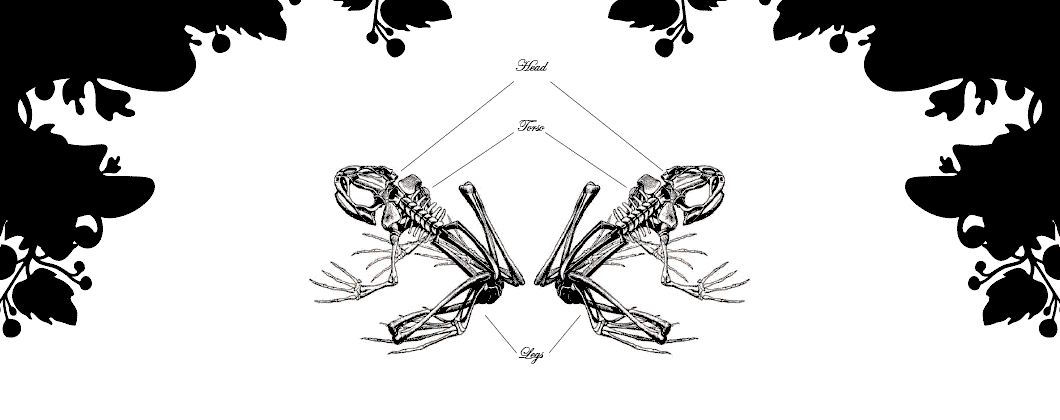
The final production for project one is coming to a climactic conclusion.
Be ready to present your stunning work at exactly: 3:06 PM
After that point, your work will be marked late.
* * * * * *
Tips for presentation:
1) Be ready to say something about your work. If necessary, rehearse at least two or three things that you want to say. This is your time to shine!
2) Get us interested — tell us about the design, tell us about your sources, your color palette, your type choices, the evolution of your project.
3) Think of questions that you had along the way — perhaps you can ask us if your design decisions actually worked?
4) Make the piece look crisp, sharp, and super-neat. It will take MUCH LONGER than you think to print and assemble your work. Build that time into your production, and show up relaxed and ready to go.
5) Mount your work to foam core or blackboard using double-stick tape. It’s the easiest and friendliest method of mounting, and it should easily last for the critique and beyond. See supplies page for more information.
6) If you are cutting foam core, use a ruler and a sharp knife (not the paper cutter!). It will take multiple passes of the knife to get a clean cut. Take your time and provide a nice clean black border around your project as indicated here:


Placing Image
Follow the same instructions provided in Mini Critique Setup page. Then return for printing instructions.
OPTIONAL: For cool points, create a 3D mockup of the book jacket for display on Behance.net and start that portfolio! (See demo on CI Learn course page)
Printing
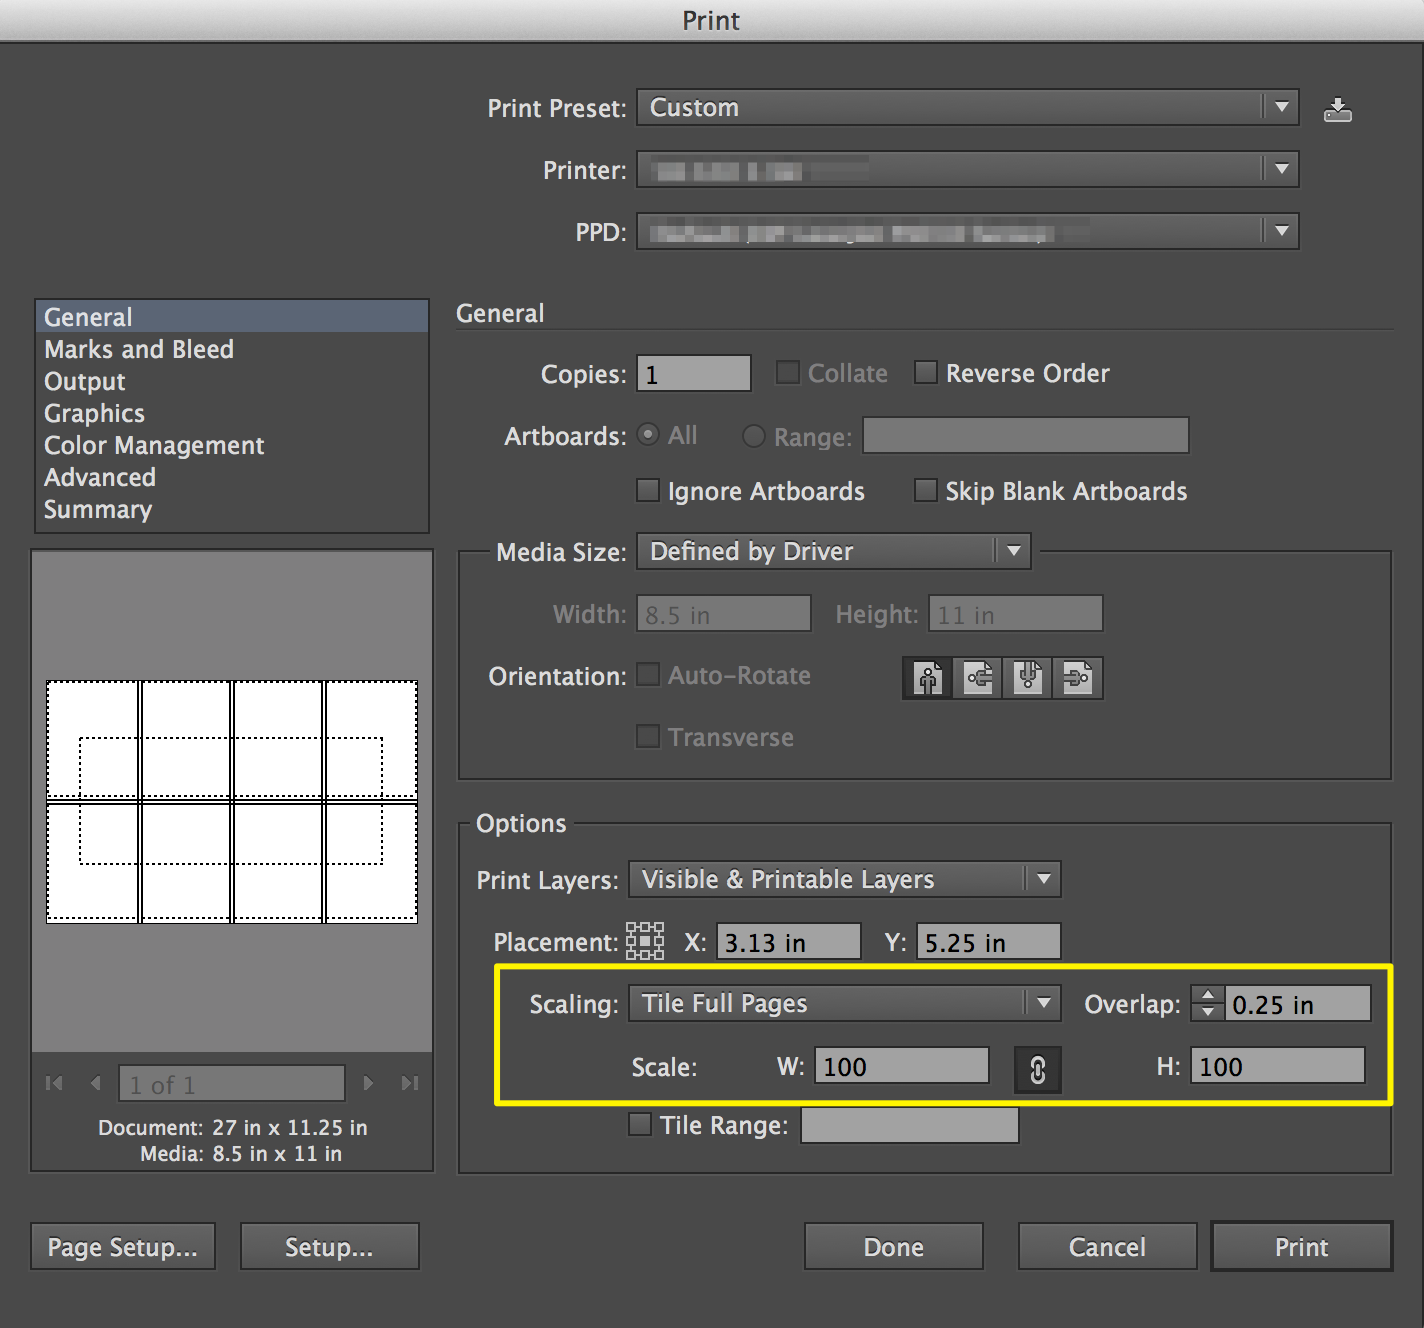
For printing, your best bet may be to use the “Tiling” features found in Adobe Illustrator.
Here is how you might proceed:
1) Open Illustrator and create a new document that is 27″ x 11.25″ in size.
2) Choose File>Place and find your PSD/JPG file to place into this new Illustrator document (PSD option can be useful especially if the file is “linked”).
3) Choose File>Print
4) In the printing options, choose “Tile” and your piece should set up to automatically print on multiple pages. (Note, you may want to set an overlap of .25″ to give some leeway in putting your piece together). See below…
5) Once your pieces have printed, you will need to trim the excess white from around the edges and cleanly mount everything to your black board.