Important Terms to Know
- Pixel: smallest sample point of a raster image (source)
- Layer: “Photoshop layers are like sheets of stacked acetate. You can see through transparent areas of a layer to the layers below. You move a layer to position the content on the layer, like sliding a sheet of acetate in a stack. You can also change the opacity of a layer to make content partially transparent.” (source)
- Selection tools: “…are used to select all or any part of a picture to perform cut, copy, edit, or retouching operations.” (source)
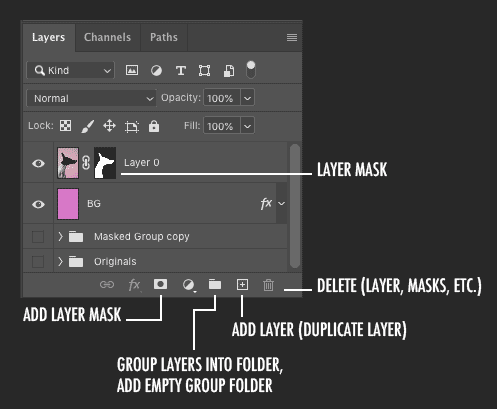
- Layer Masks: “A layer mask is linked to a layer and hides part of the layer from the picture. What is painted black on the layer mask will not be visible in the final picture. What is grey will be more or less transparent depending on the shade of grey. As the layer mask can be both edited and moved around independently of both the background layer and the layer it applies to, it gives the user the ability to test a lot of different combinations of overlay. ” (source)
- Keyboard Shortcuts: Keyboard keys to invoke tools or commands
- Modifier Keys: These include any combination of the keys Command (CMD) / Control (CTRL on Windows), Shift, Option
Interface Highlights
Layers Panel
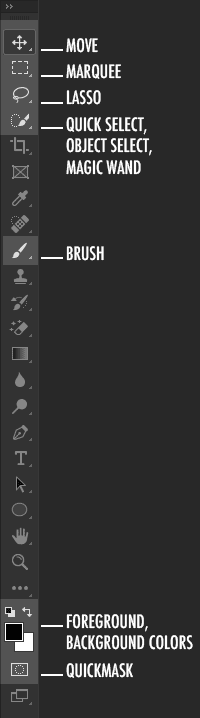
Primary Tools for this Workshop
Selections & Masking
The secret to great composition is a great mask. The secret to a great mask is a great selection…
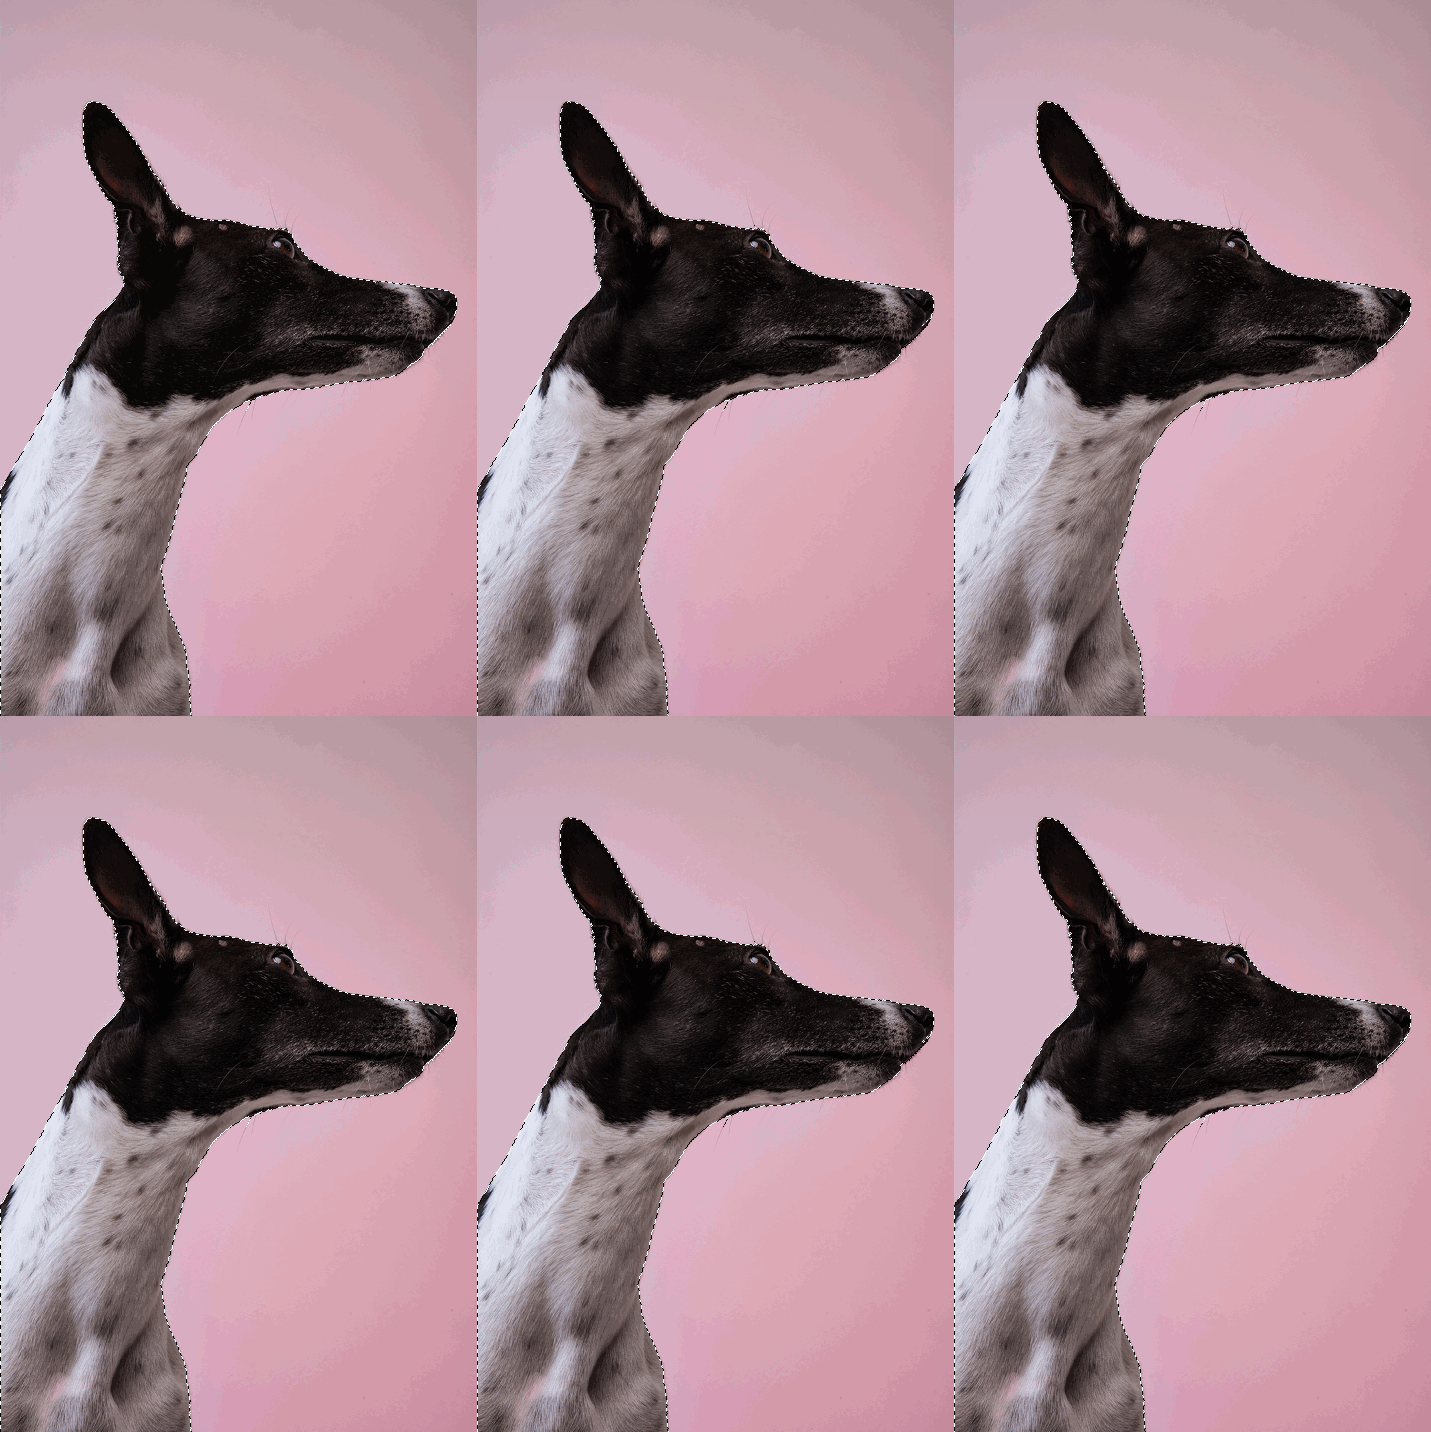
What does a mask look like?
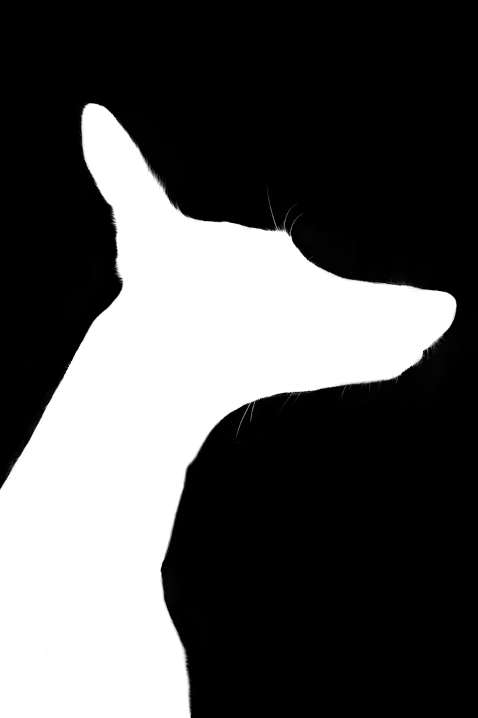
Just black and white pixels. Completely black fully hides portions of image (100% opaque). Completely white pixels fully reveals portions of image (100% transparent). Any grey values in between will vary opacity (see “Density” slider in Properties panel with mask selected).
Helpful Keyboard Shortcuts
Tip: Explore modifier keys (e.g., Command [Mac] or Control [Win], Shift and Option/Alt) in combination with other commands. Some examples in table below. More keyboard shortcuts
| Keyboard Shortcuts | Description |
|---|---|
| V | Move tool |
| CMD (CTRL) + T | Transform object (e.g., scale, rotate, skew, etc.) |
| M / Shift + M | Marquee selection tool |
| L / Shift + L | Lasso selection tool |
| CMD (CTRL) + D | Deselect active selections |
| CMD (CTRL) + I | Invert colors (works on mask colors too) |
| CMD + Shift + I | Invert selection |
| B | Brush tool |
| D | Default black and white color swatches |
| X | Switch background/foreground colors |
| Q | Quick Mask Mode |
| [ | Decrease brush size |
| ] | Increase brush size |
| { | Decrease brush edge hardness |
| } | Increase brush edge hardness |
Demo One
Right-click and “copy image”(s) below
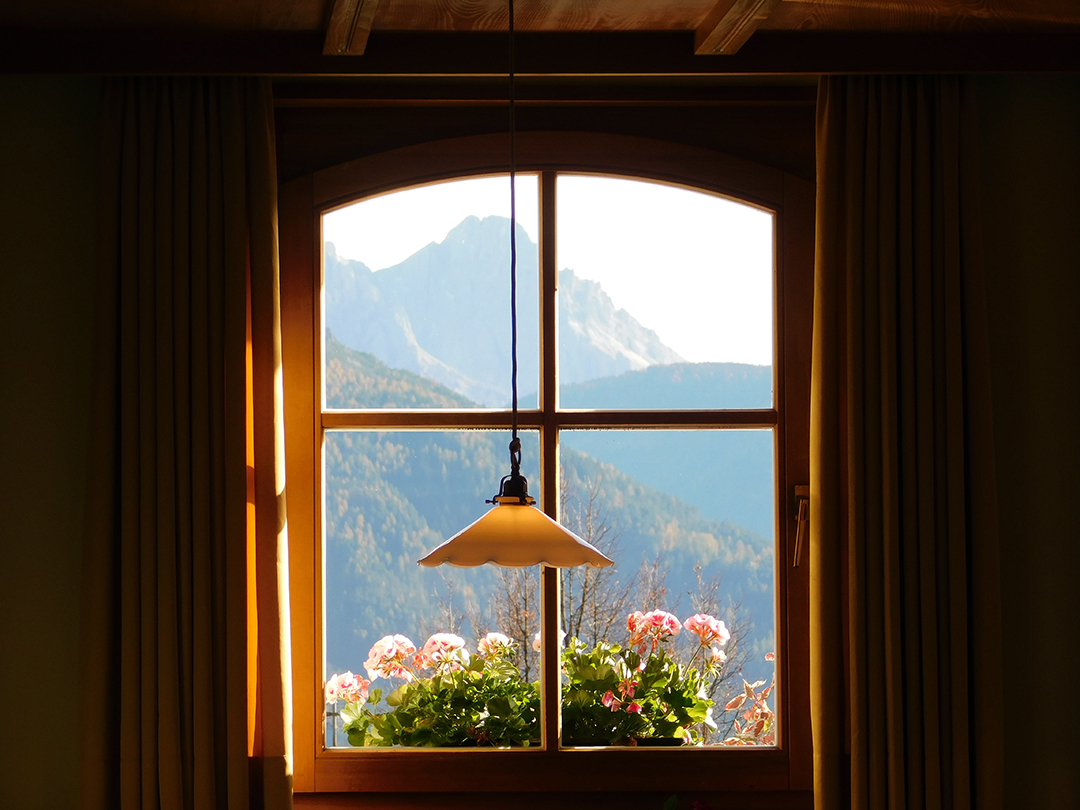
With window image copied, create a new document in Photoshop. We’ll use the next two images later in demo.
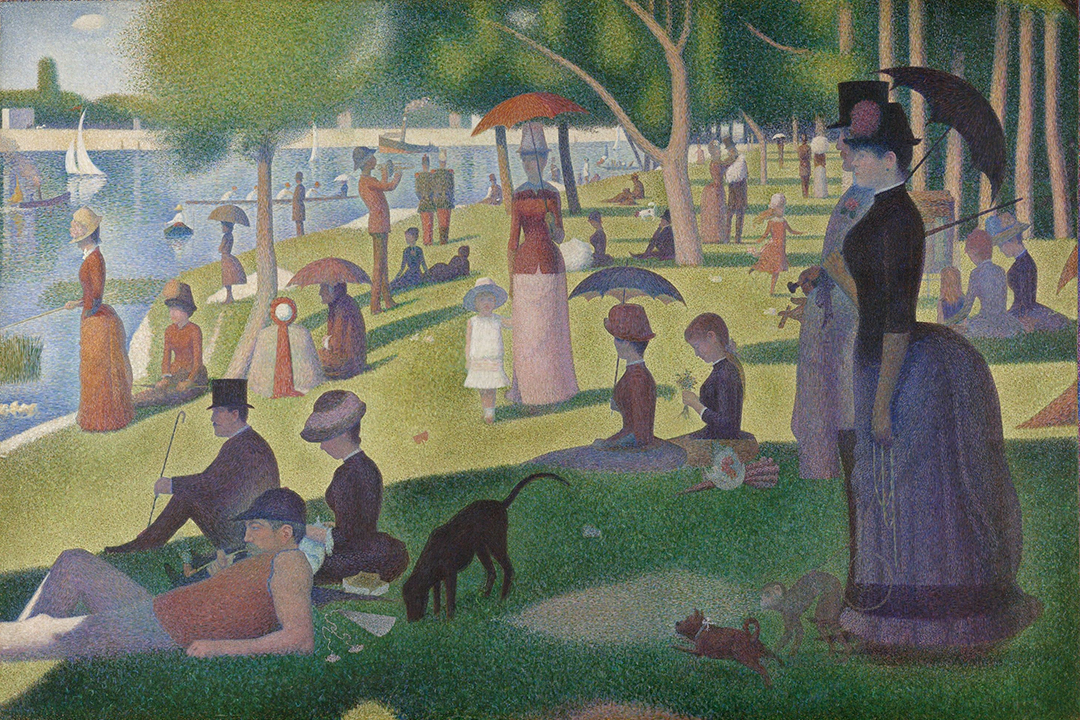
Georges Seurat, Sunday Afternoon on the Island of La Grande Jatte, 1884 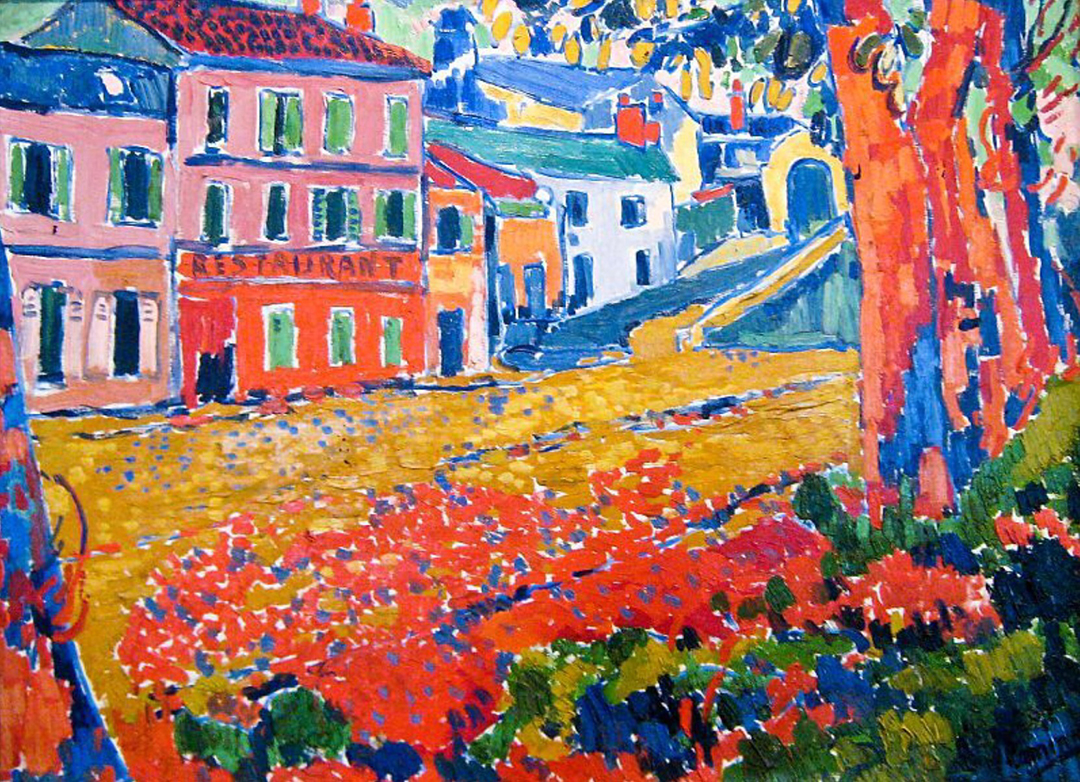
Maurice De Vlaminck, Restaurant de la Machine a Bougival, 1905
Demo Two
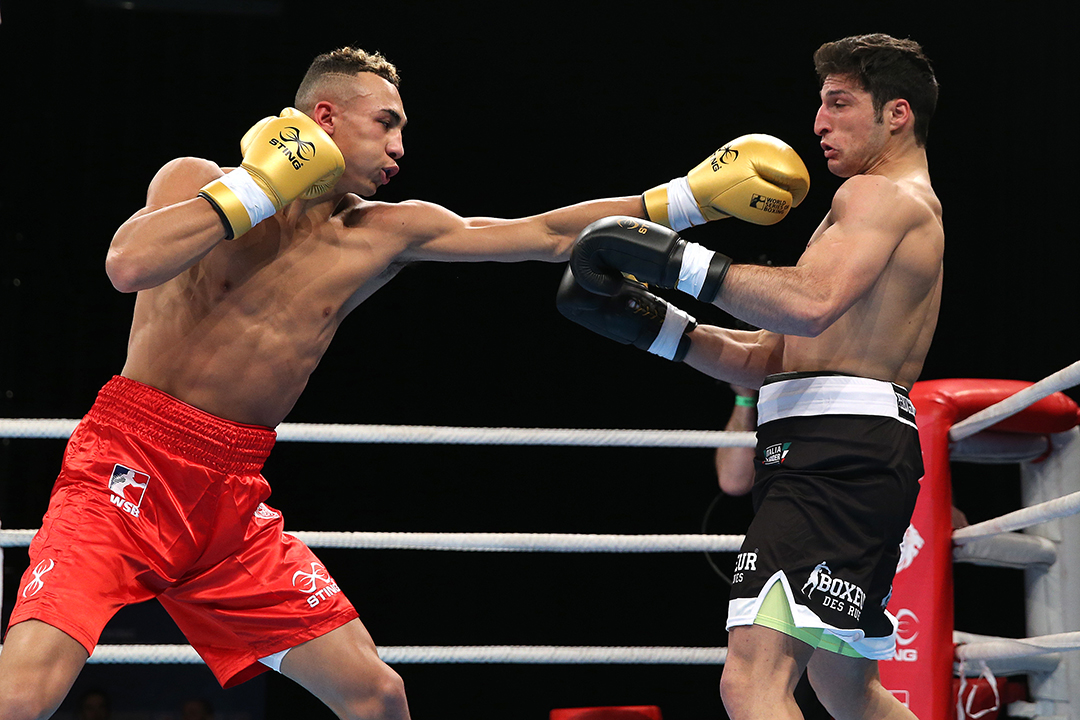
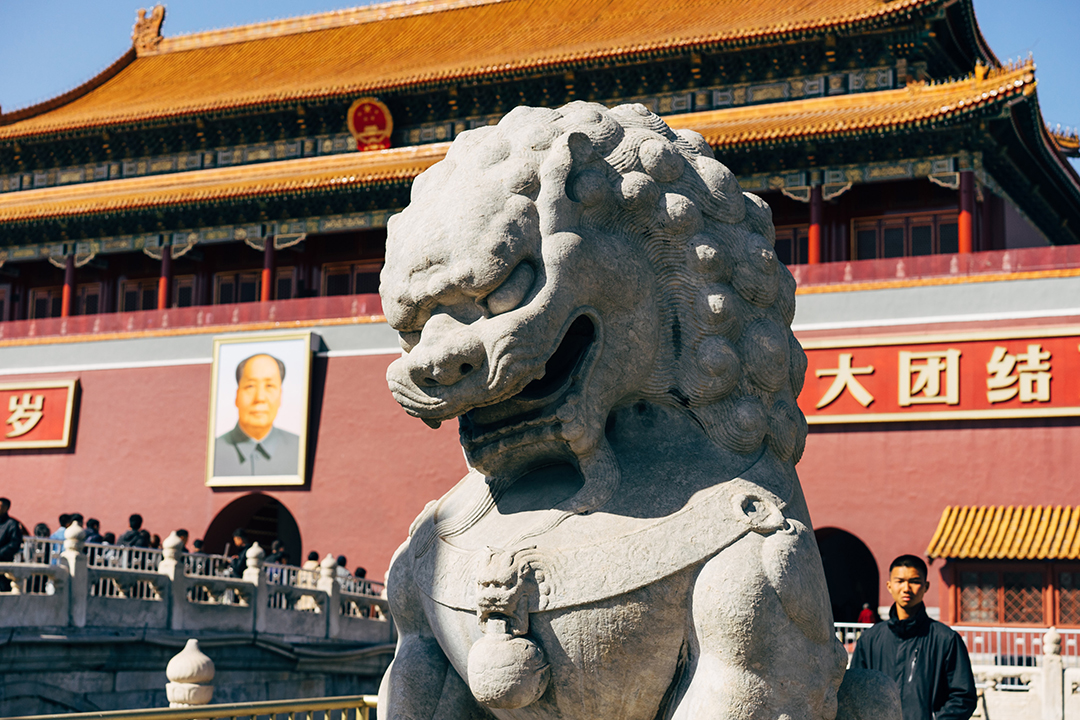
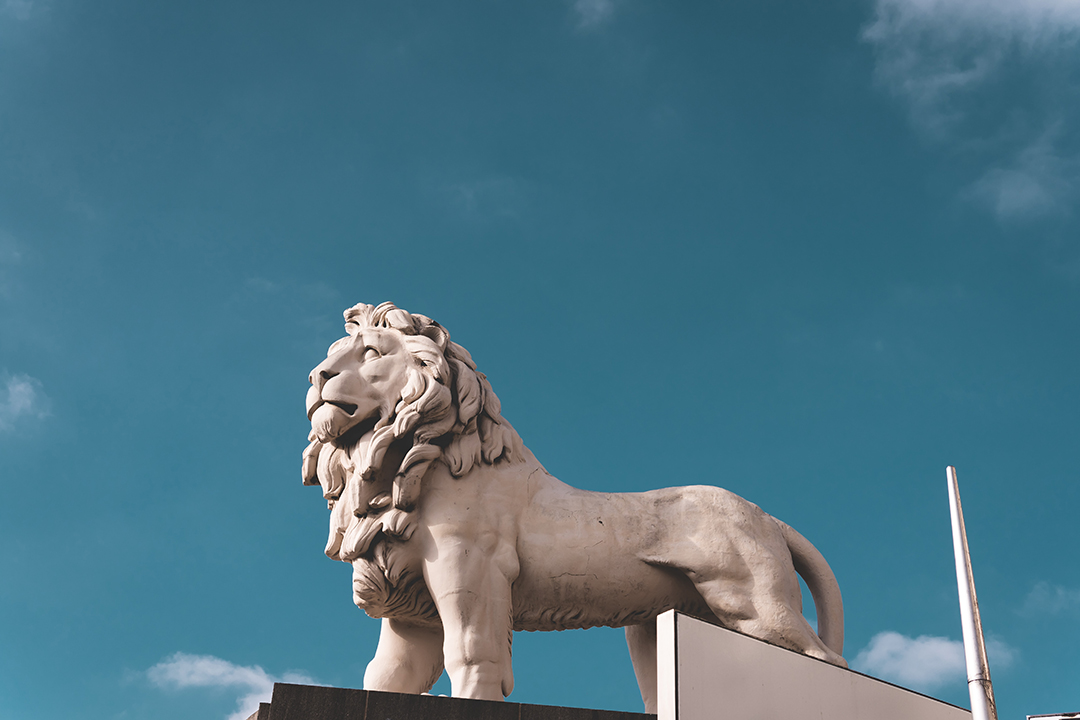
Learning More
- LinkedIn Learning (previously Lynda.com): Available in myCI. This is a great resource for learning more about Photoshop and many software and career development topics.
- Youtube
High-Quality Free Image Websites
- Freeimages.com
- Unsplash.com
- Flickr Commons
- Flickr Creative Commons (be aware of licensing)
- Morgue File
- Pexels
